
Sep – Oct 2026
Estoa
estoa (n.): slack water; the moment the tide stops, between flowing in and flowing out.
Estoa is endless, like a social media feed, but it only gives you more when you're still.
- role
- Artist
- type
- personal project
- medium
- installation
- tools
- LED, Hardware, Fabrication
Dan Oved, 2026 · Generative light: LEDs, ESP32, hidden presence sensor, 3D-printed PLA, frosted glass · Shown at Abisal, Mexico City, in Design | Climate Week 2026, October 6 to 11
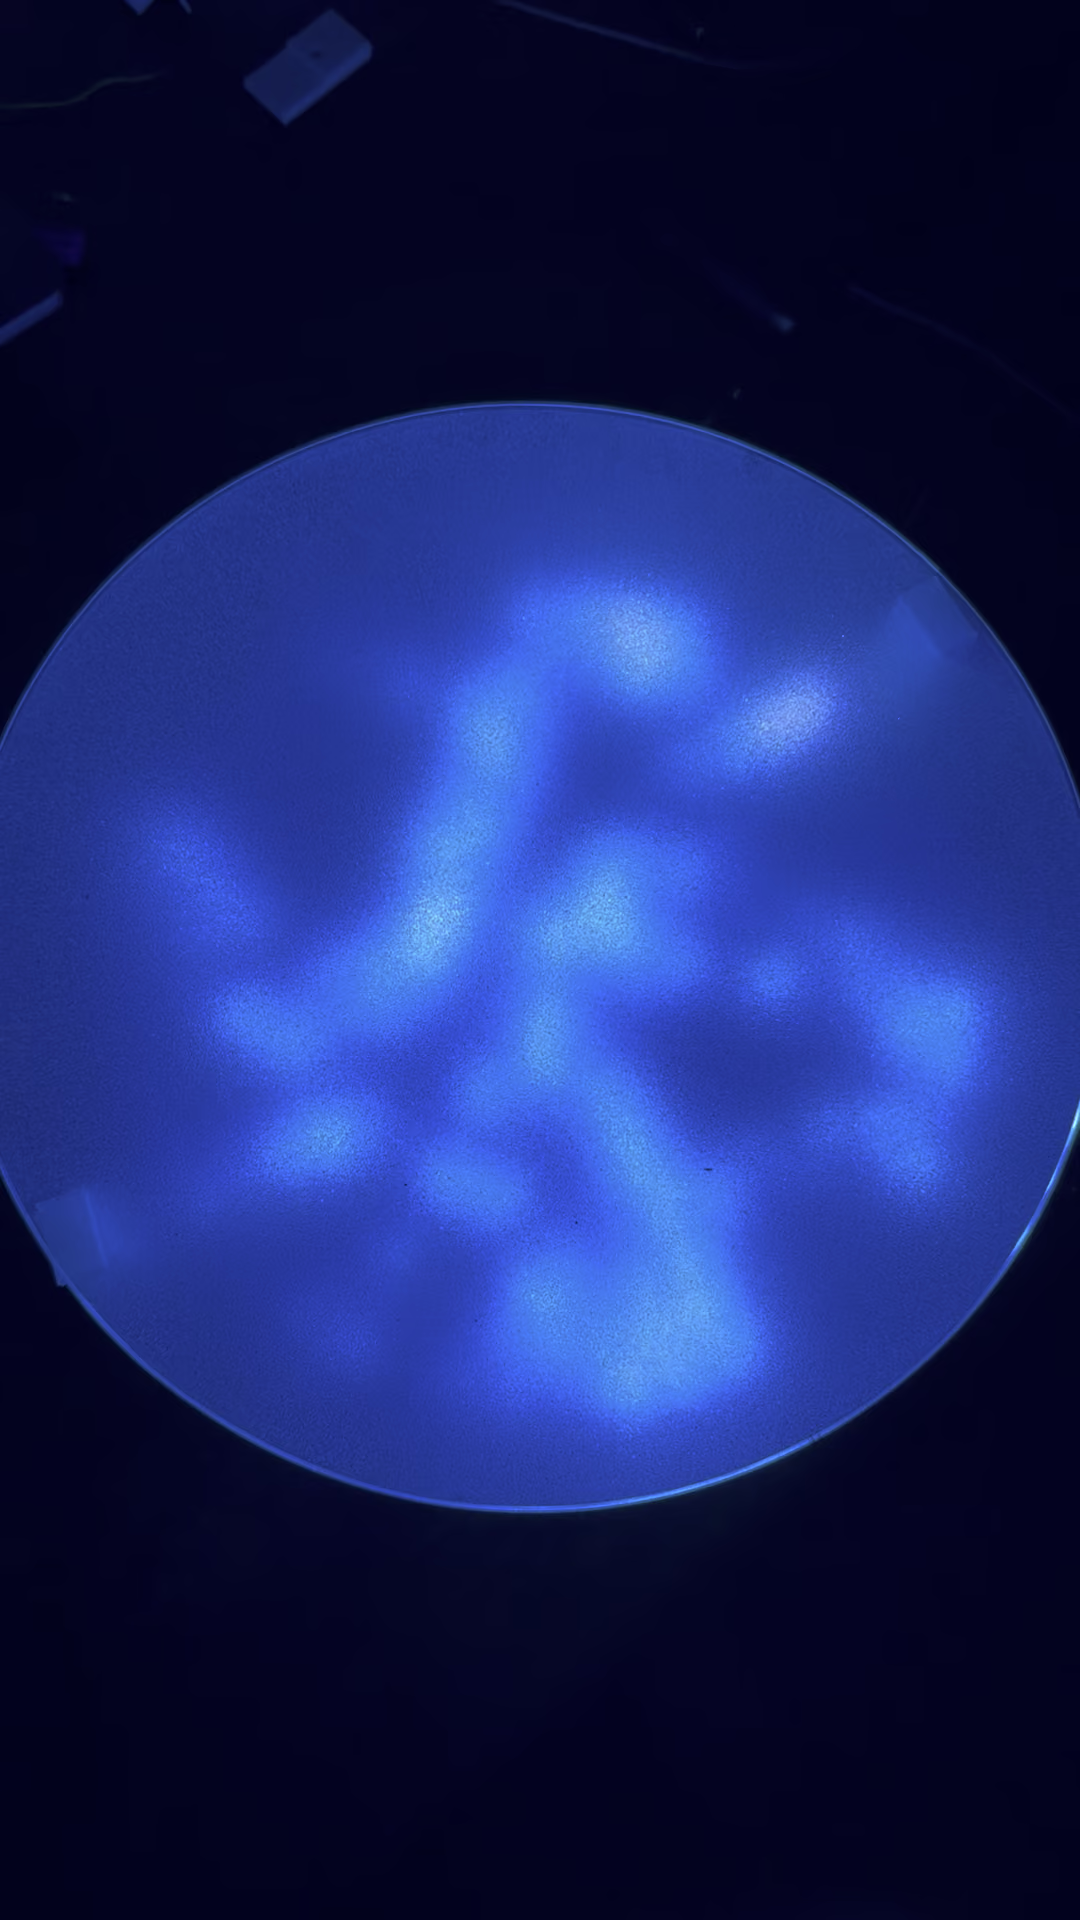
Waves. The walking state is energetic surf. The glassy state is smooth, like longboard waves, even intervals, very hypnotic.
The idea
Phones are cyclic and steal your attention. The AI behind Instagram is trained to keep you there. Estoa is like a stillness-rewarding social media feed. It focuses your attention on one thing.
People don't realize that there's a sensor in there. It's hidden, like the hidden algorithm. But Estoa is not hacking your brain. That's not the point. It's inspired by social media feeds, but instead of serving more of what works, it brings you into presence, inhabiting the space you're in.
What you see
A disc of light behind frosted glass, with a bit of a gap around it, because it's really cool when you look at it from the side. I wanted really dreamy diffusion, almost so that you don't even notice that there are diodes.
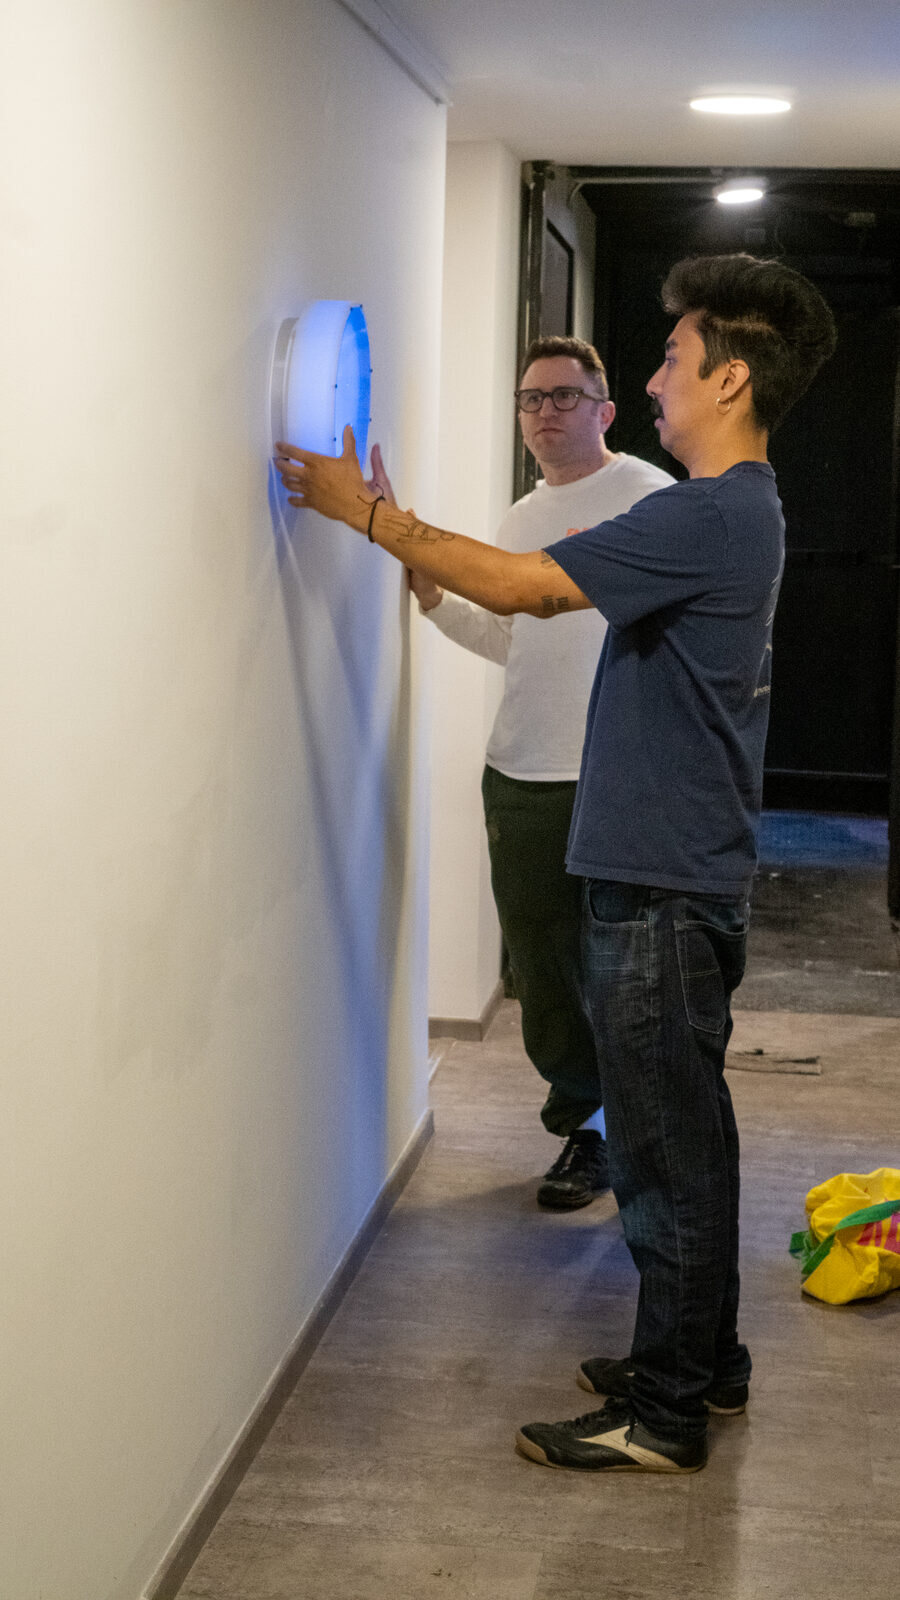
Hanging it in the hallway at the gallery, already running.
How does it change when someone's walking near it versus staring at it? Distance is hard because you don't know the space, so it's just movement and stillness. The longer you're there, the more you go underwater. Staring at the clouds turns them into a sunset, the boldness of the colors, a purplish-red sunset.

Clouds. Staring at it turns it into a sunset.

Caustics. Really nice, but it was too repetitive, so now it changes over time.

Pleamar. The swaying grass is a great pattern in the water.
Candle.

Vortex.

Tunnel.
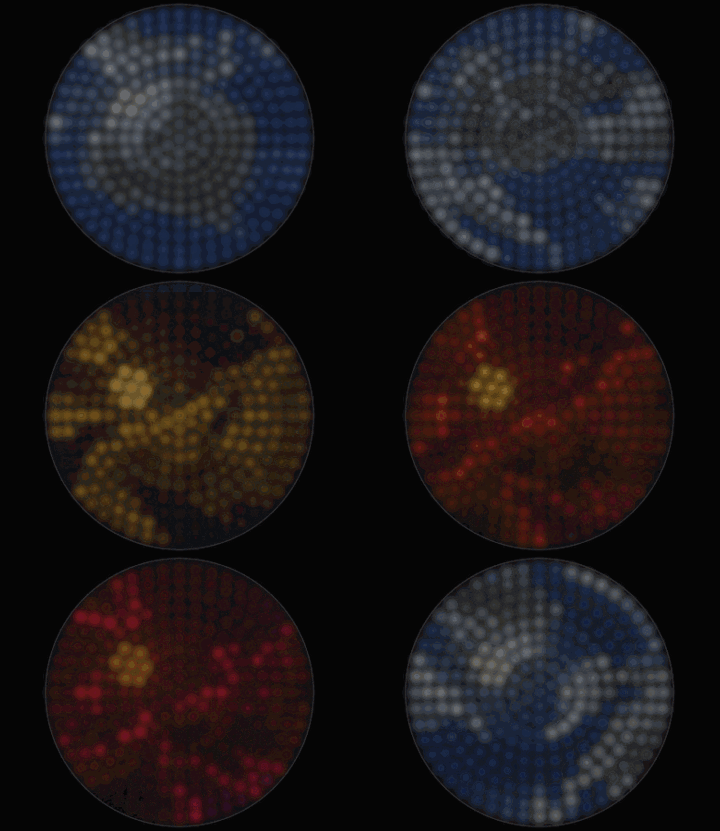
These are renders from a simulator that runs the real firmware, each one a scripted visit: nobody there, then someone walking past, then someone standing still. Some are brightened to show up on a screen. A few of these patterns are in the newest version of the firmware and may not be on the wall yet.

If you stay, there's one more thing: peaceful eyes that flash at a very fast frame rate, barely visible, a hidden message inside another pattern. A phone camera only catches one half at a time, so the eyes show up on your screen. Sometimes you catch them when your eyes dart past it.
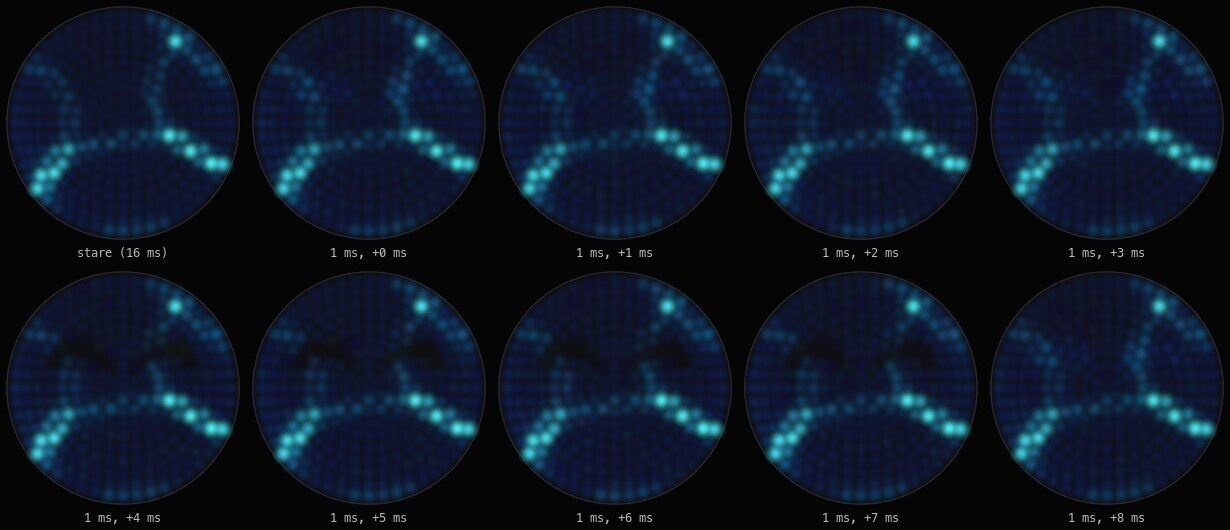
Caustics with the eyes in it. The first frame is about what a staring eye sees. The rest are single 1 ms exposures, like a phone camera's, and in some of them the eyes show up.
How it got here
From a spinning mirror to a sensor
It started on September 25 with an LED disc and an ESP32 on my desk. The first thing it did was default to a rainbow color pattern. I hate that.
Then I picked up a round mirror at a flea market. It was on a table, that's why it was rotating, like on a carousel. I was thinking of putting the disc on the arm and rotating it. Do I even need to rotate it, or maybe people can rotate it themselves?
On October 2: I think rotation is a cool concept, but we actually have to think about what the concept of this piece is. I think presence detection is more interesting. Let's forget about rotation, because it's also more that can break.
The first time the radar worked: how does it know presence? It's pretty awesome. After that, every pattern in the show got a state for nobody there, for walking past, and for staring at it.
The feed came last, the morning it got its name.
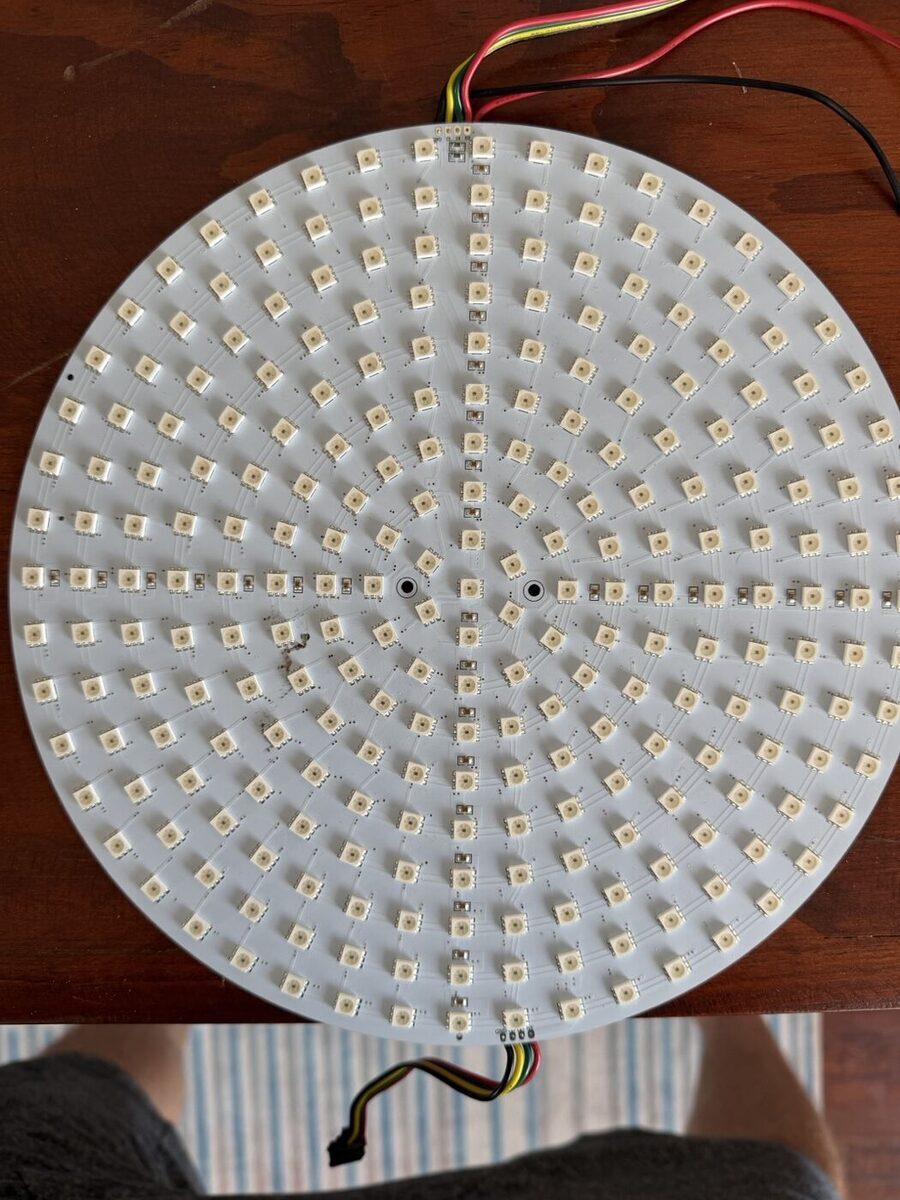
The disk before anything else: 255 LEDs in concentric rings.
The enclosure
The enclosure is 3D printed, and I printed it and put it all together by hand. I did all the soldering. It took me all freaking day, and it was so much of a struggle.
On the first clear prints you could see the texture on the outside of the material, so it looked 3D printed. Honestly, I didn't like it. You see the diodes, it just refracts. So I sanded the thinnest and the thickest layer, with 120 and then 220. They looked great. I leaned towards the thick one.
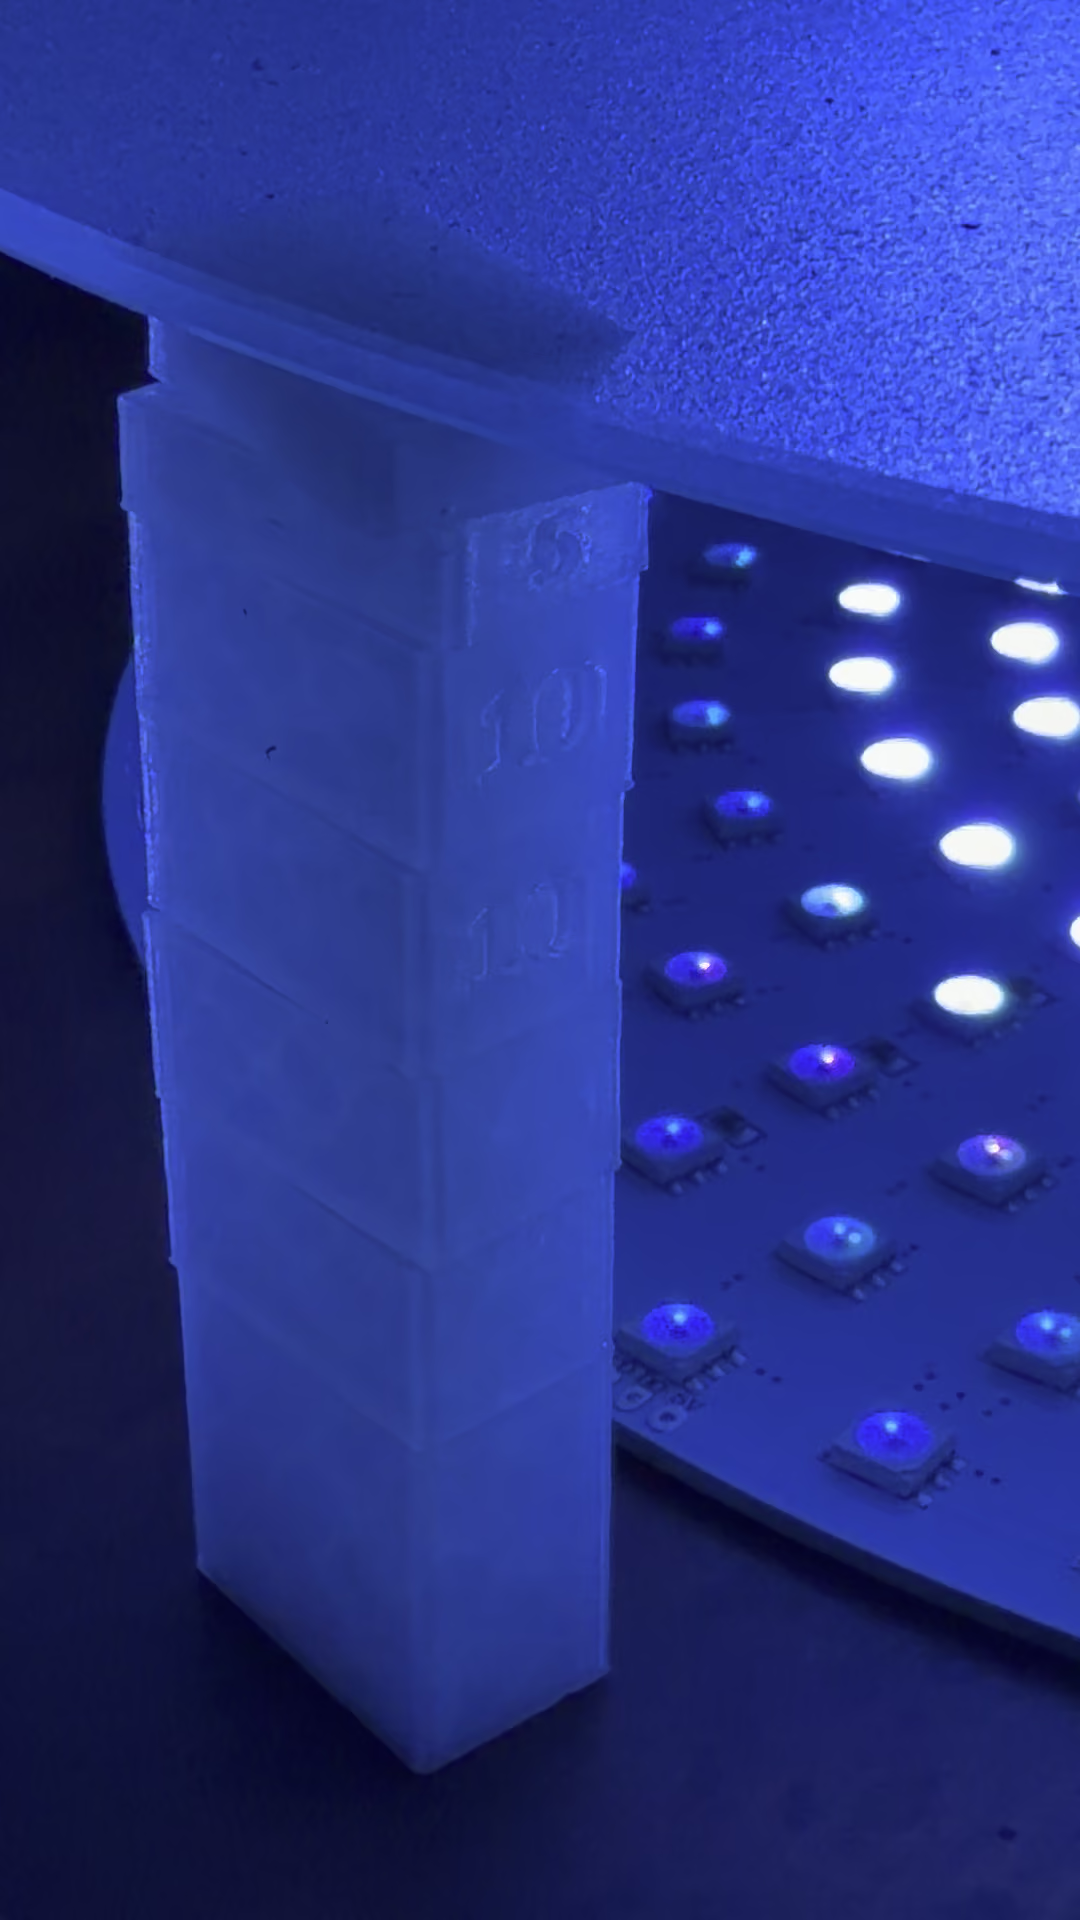
For the height of the glass I printed stacks of bricks. It looked the best with all of the bricks on each side.
The walls printed and looked great, and then we had to glue them together. I'd never done epoxy gluing before. I picked it up and it came apart, so I needed to let it sit for longer.
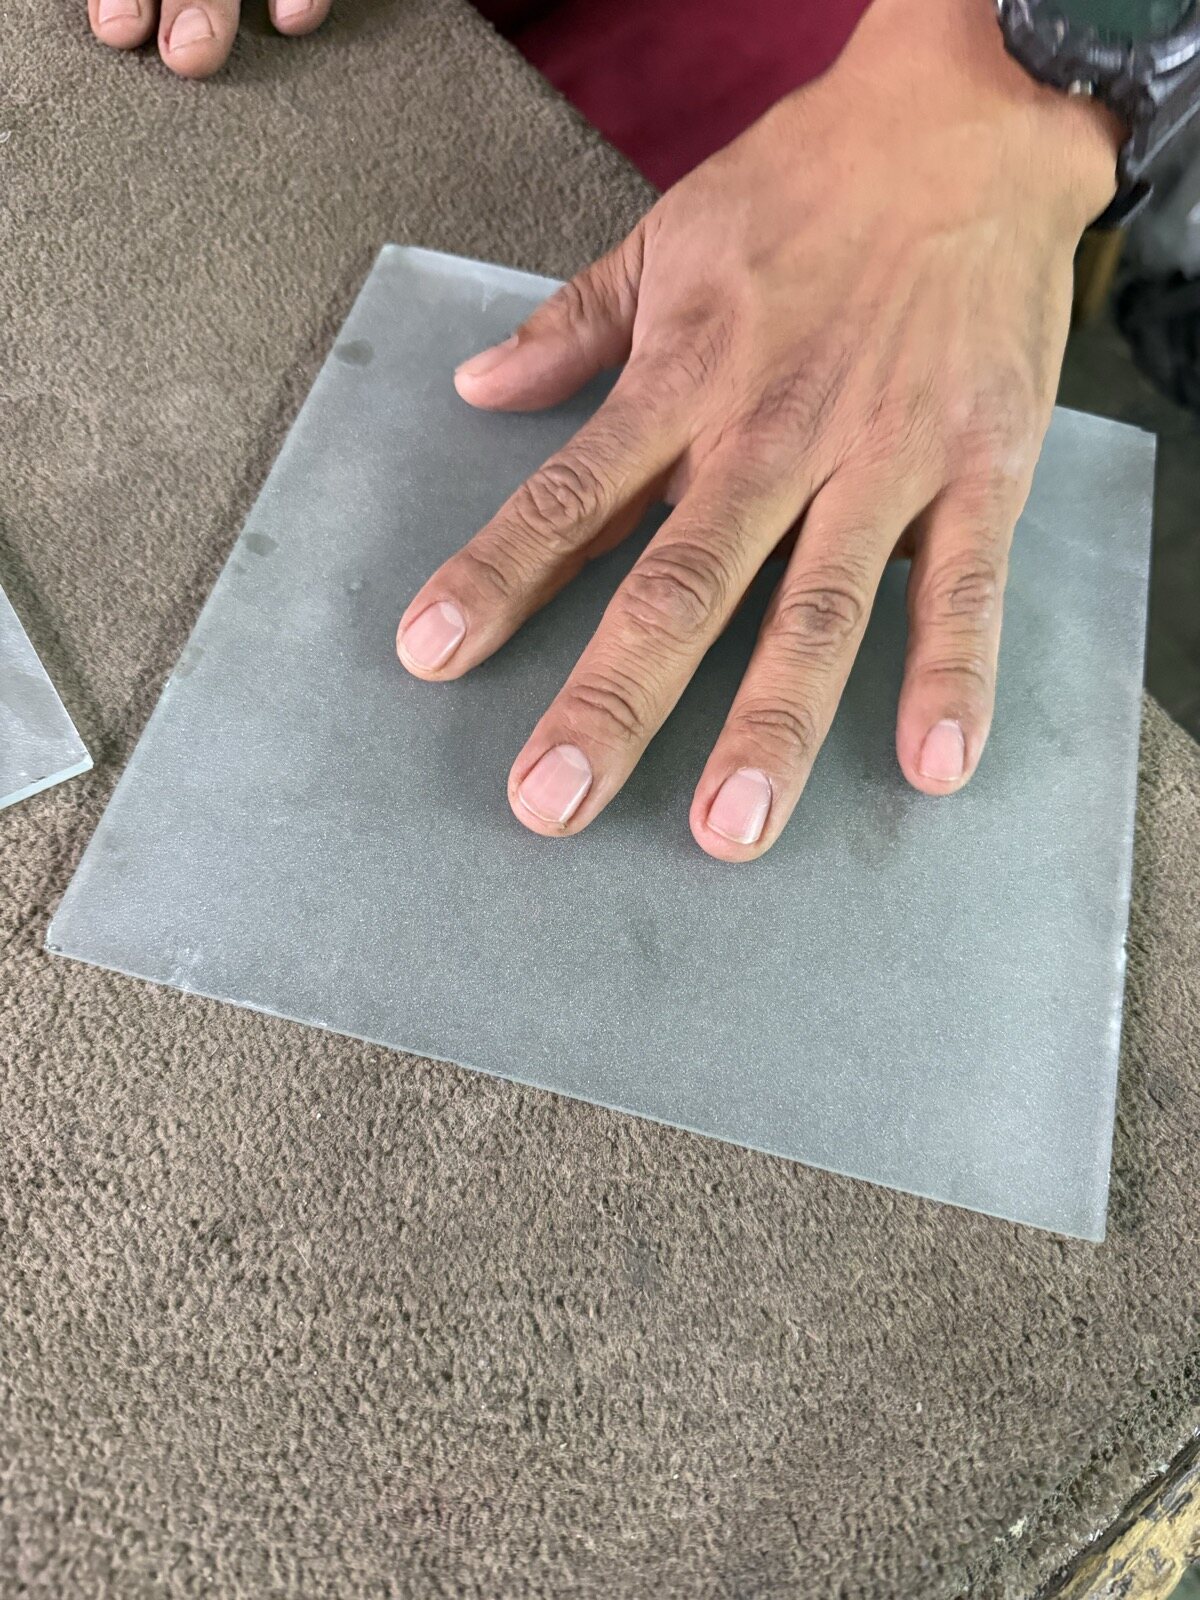
Choosing the frosted glass at the glass shop.
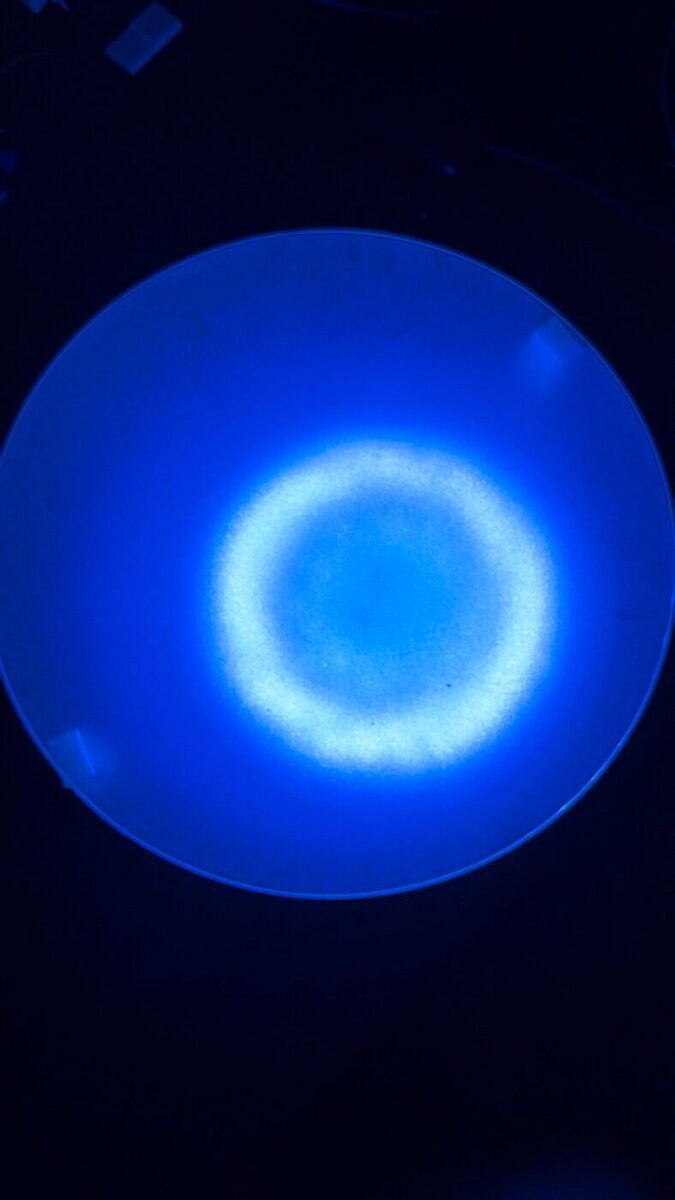
The frosted glass at the height I picked.
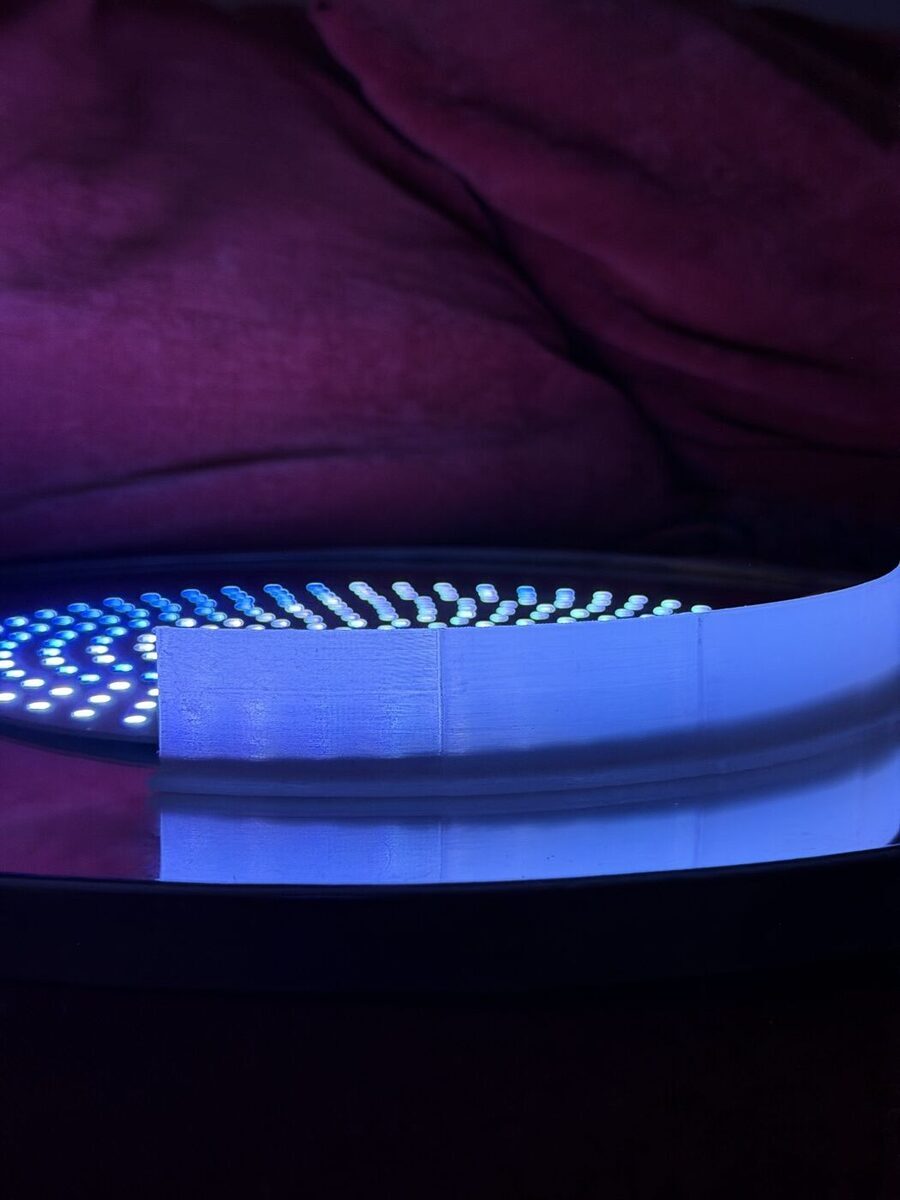
A sanded test strip of the clear wall.
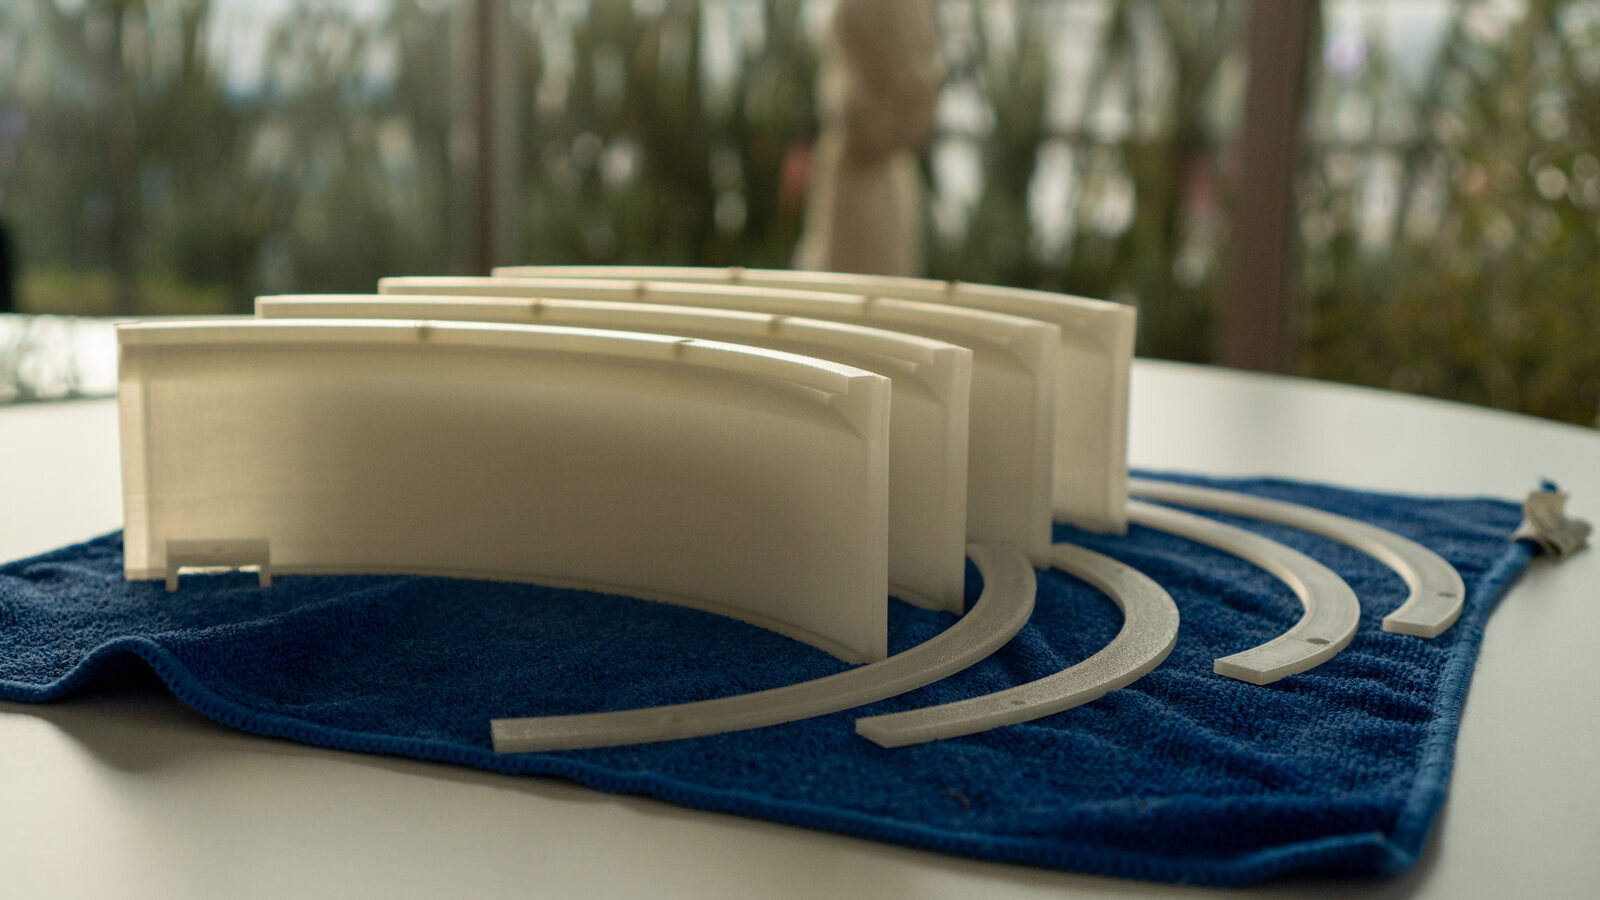
The four wall quarters and the four quarters of the ring that holds the glass.
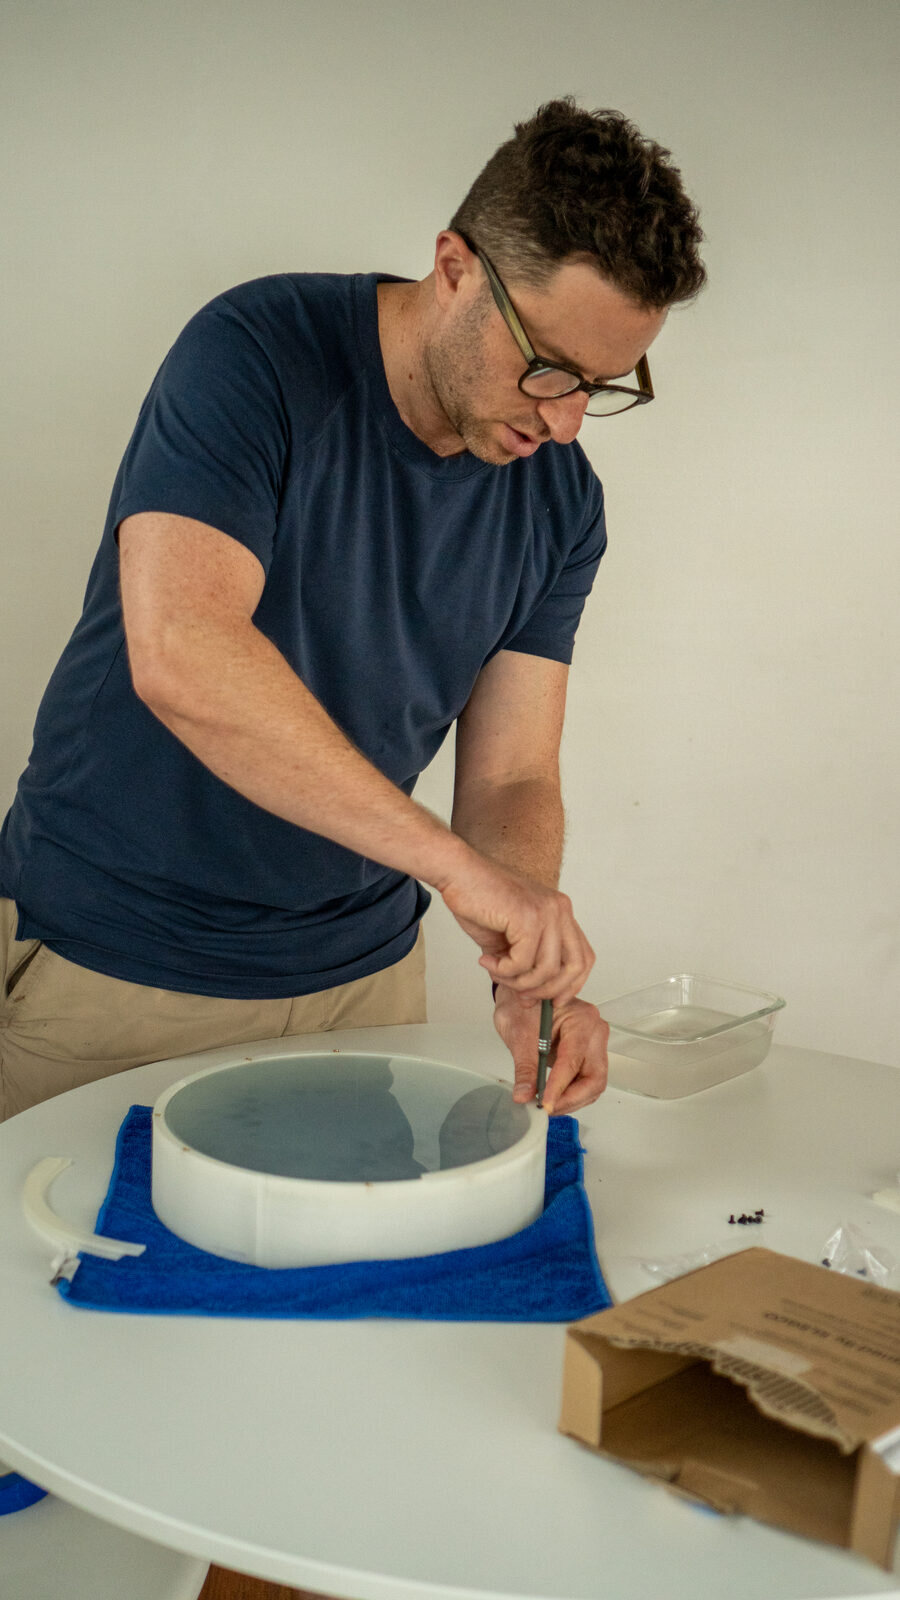
Putting the front together.
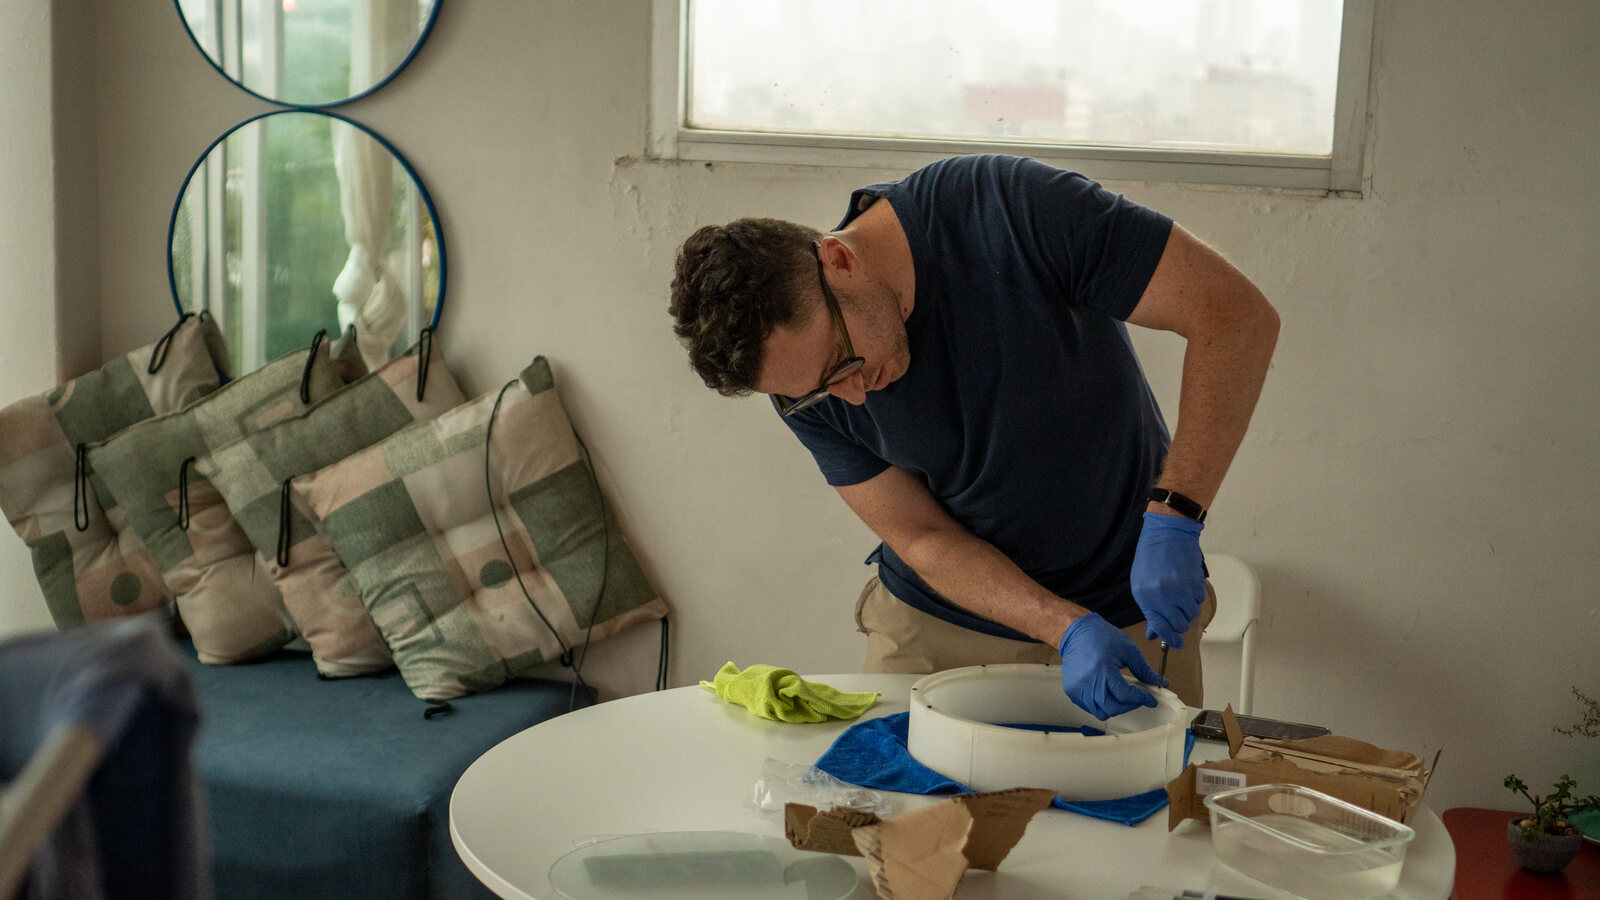
Gluing the wall seams with clear epoxy.
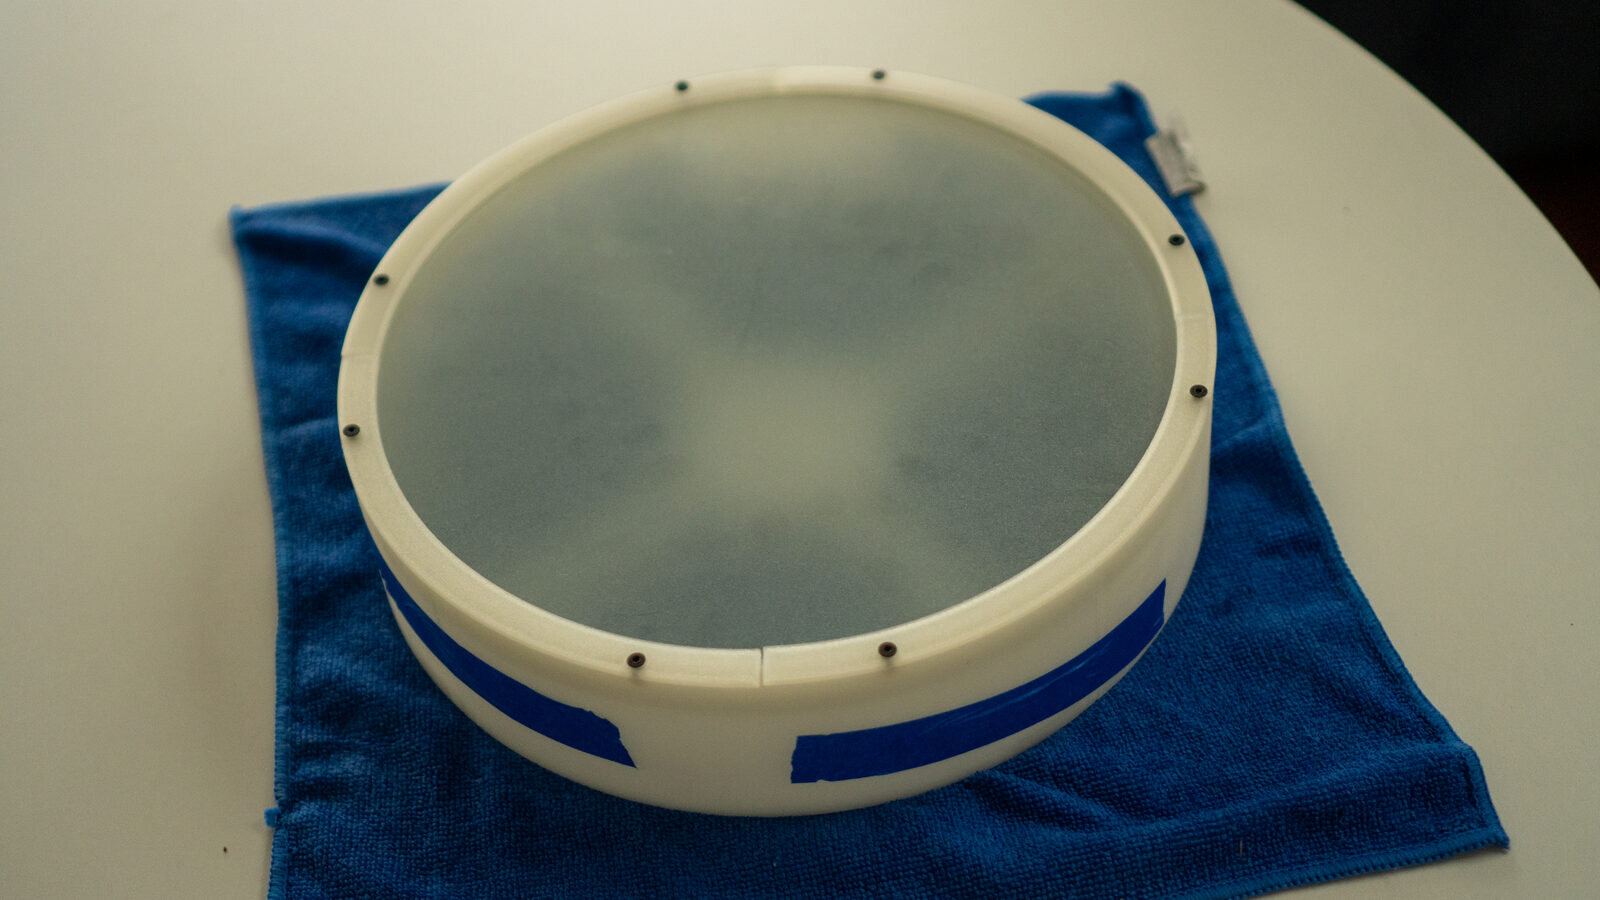
The front together for the first time, tape on the seams while the epoxy set.
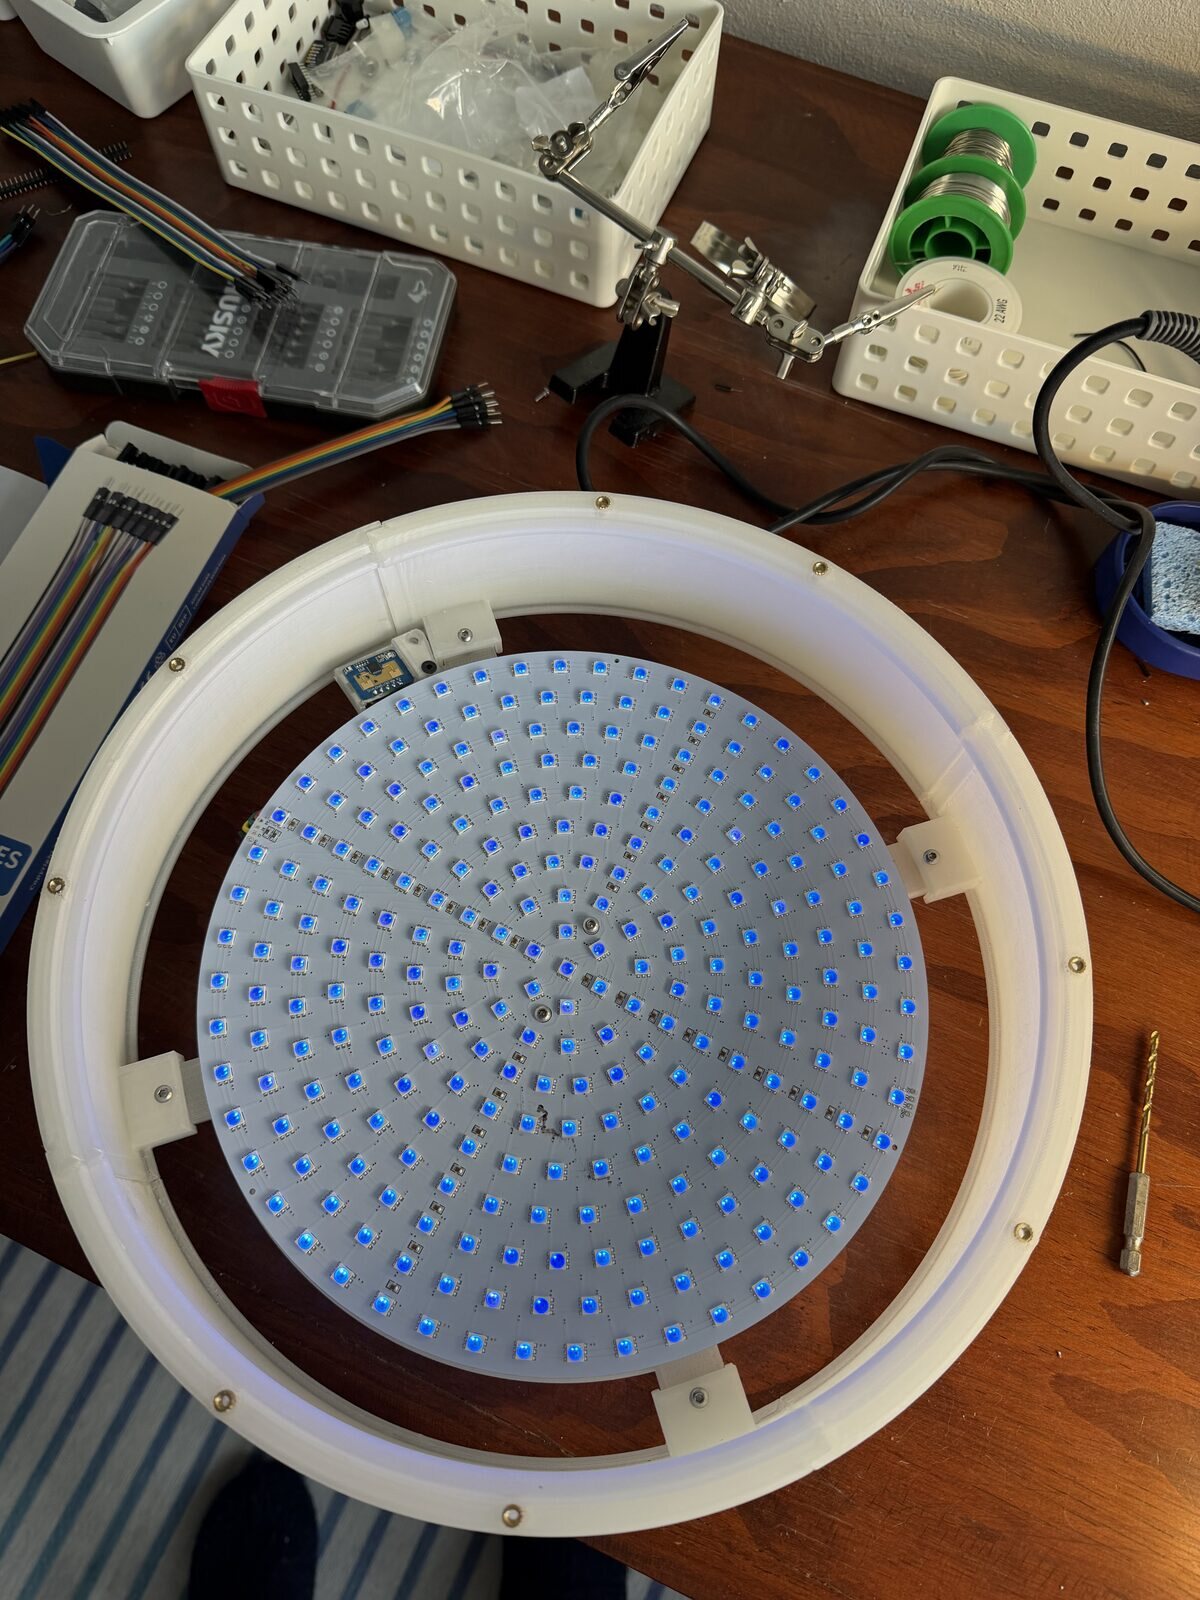
The disk in its clear wall, before the glass went on.
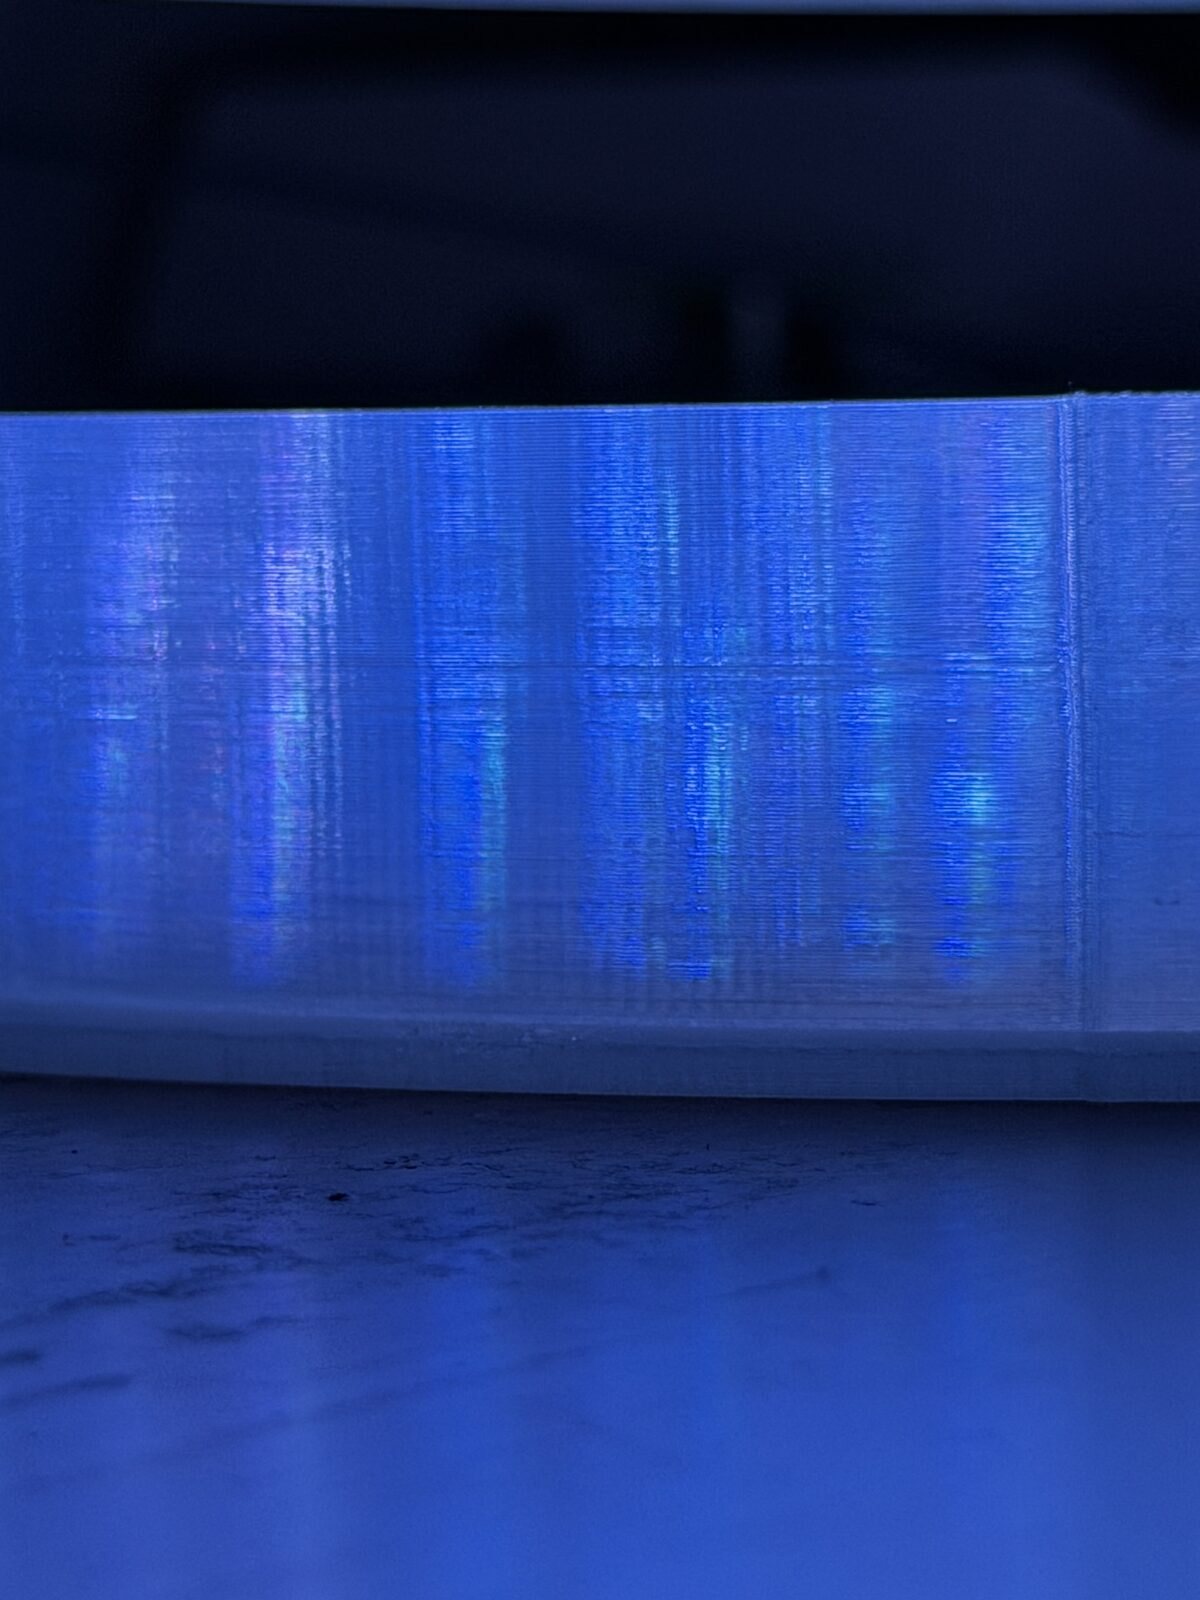
The clear wall straight off the printer, before sanding: every LED turns into a vertical streak.
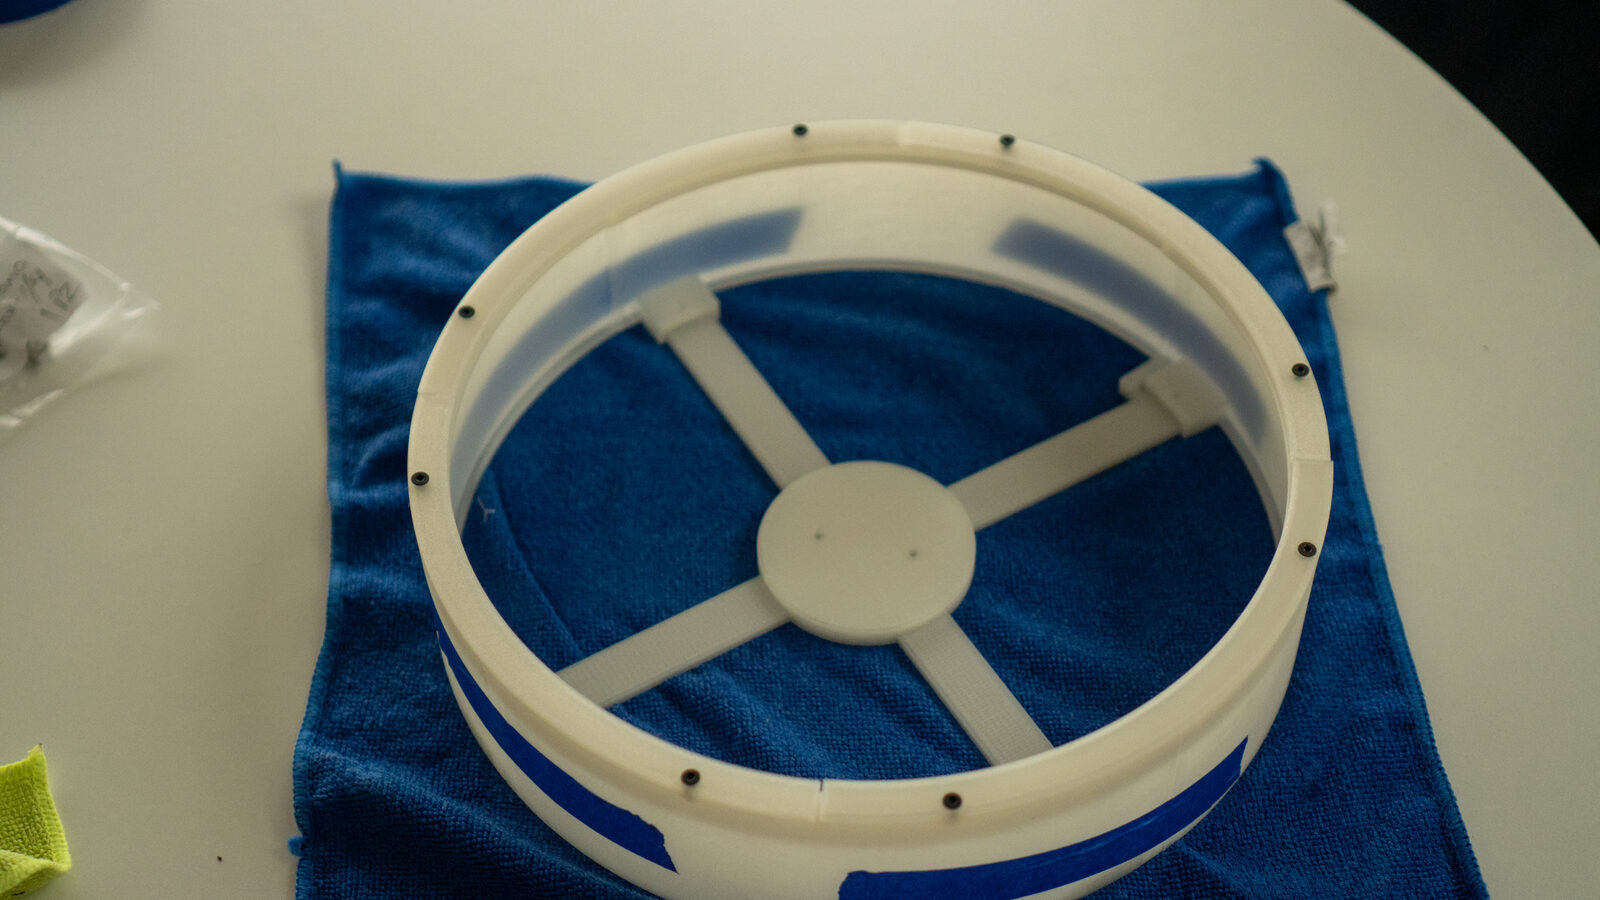
The clear spider inside the wall, before the disk and the glass went in.
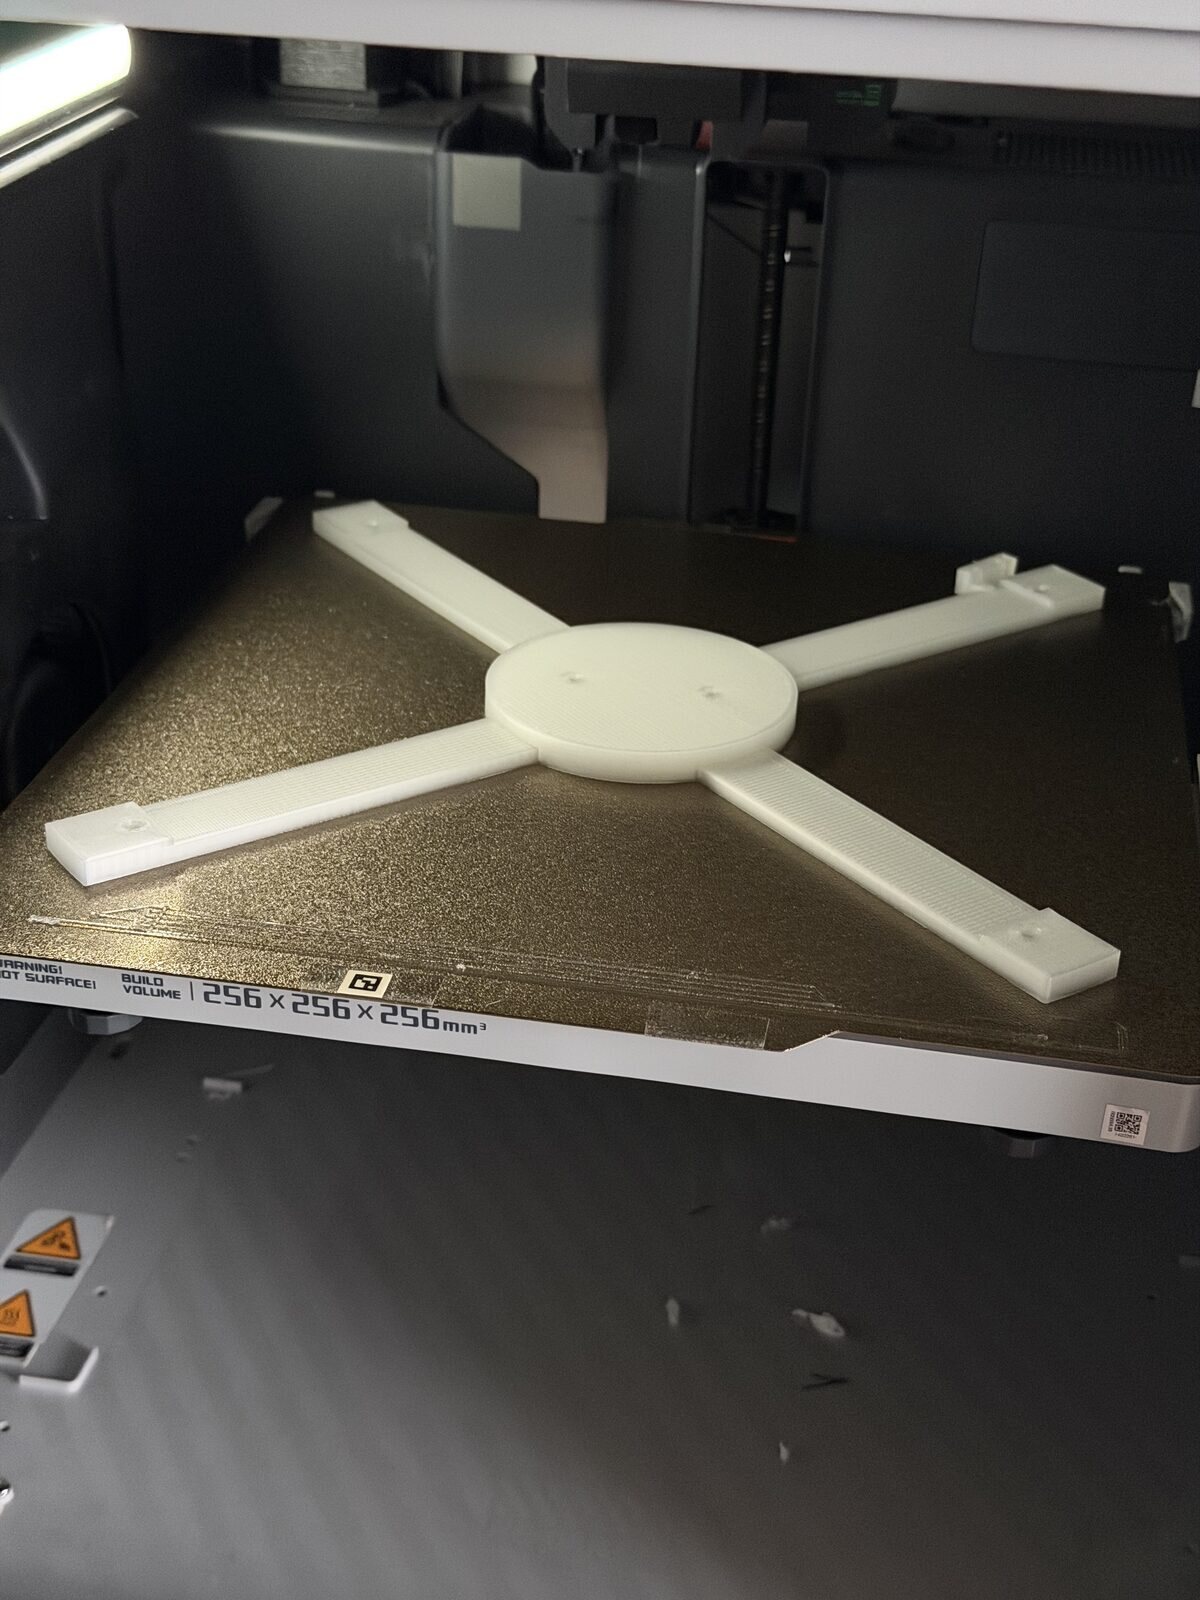
The clear spider that holds the disk, on the print bed.
The box on the back should be mostly enclosed, because there's a lot of dust in Mexico. It took three tries. The inserts were not really going in. I had to really push to get them in, and when they went, they warped the sides. On the last one the white filament ran out, so I switched to transparent. It looks cool, actually.
The board slides into a groove in the box wall. There was no way to get a screwdriver to the screws on that end, so the groove does their job.
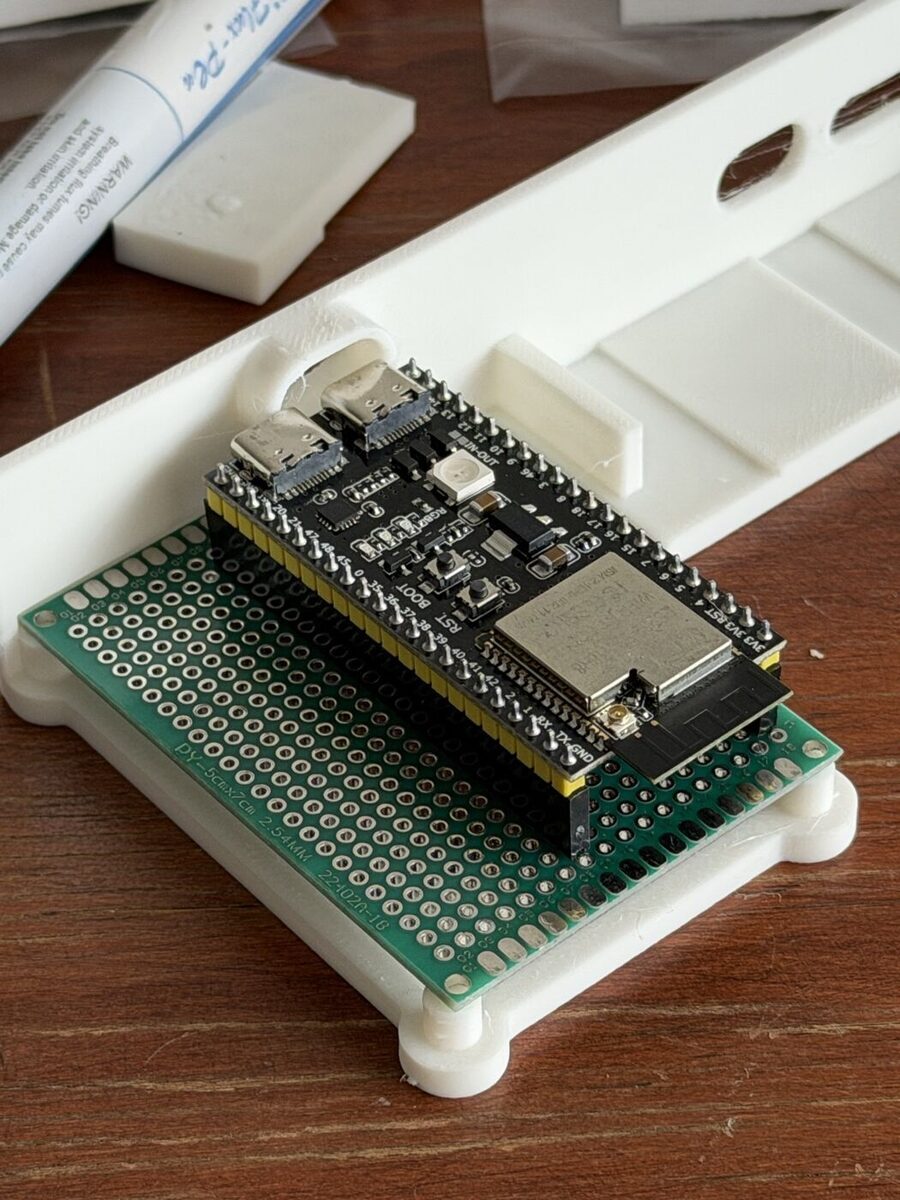
The board in its groove, on the first test print. It held first try.
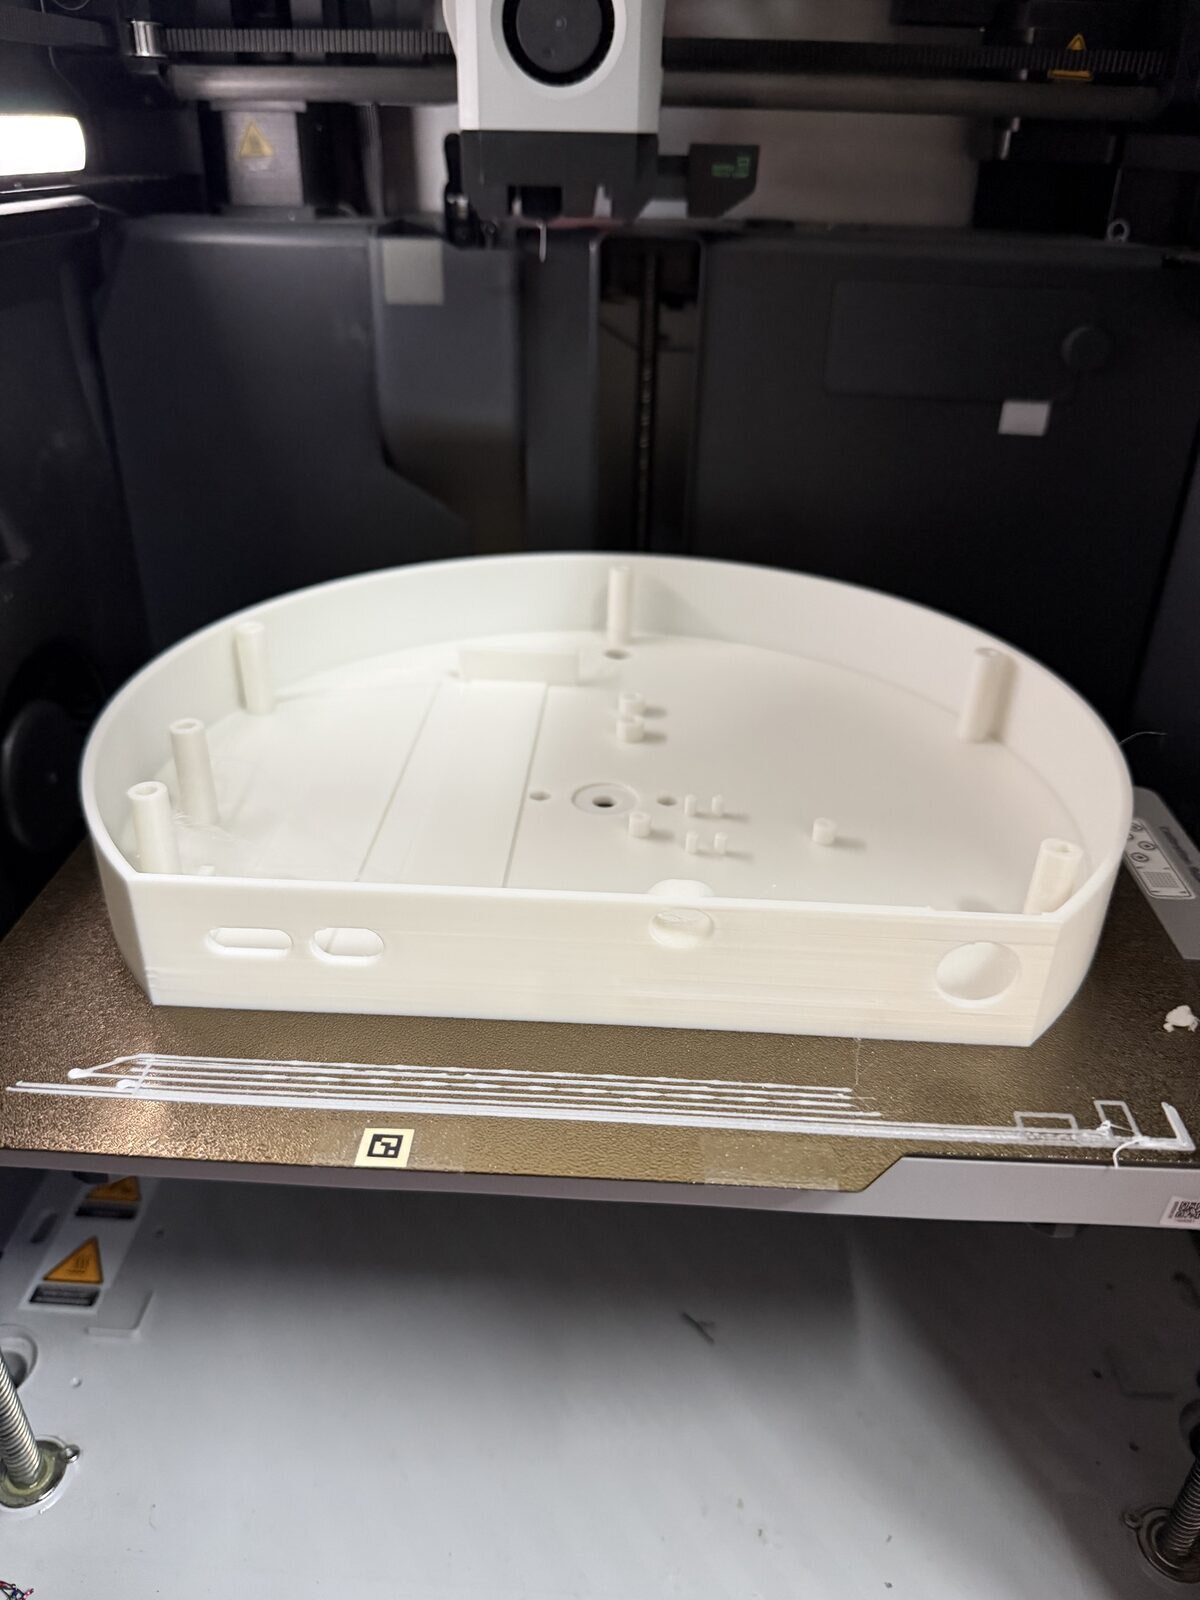
A back box fresh off the printer.
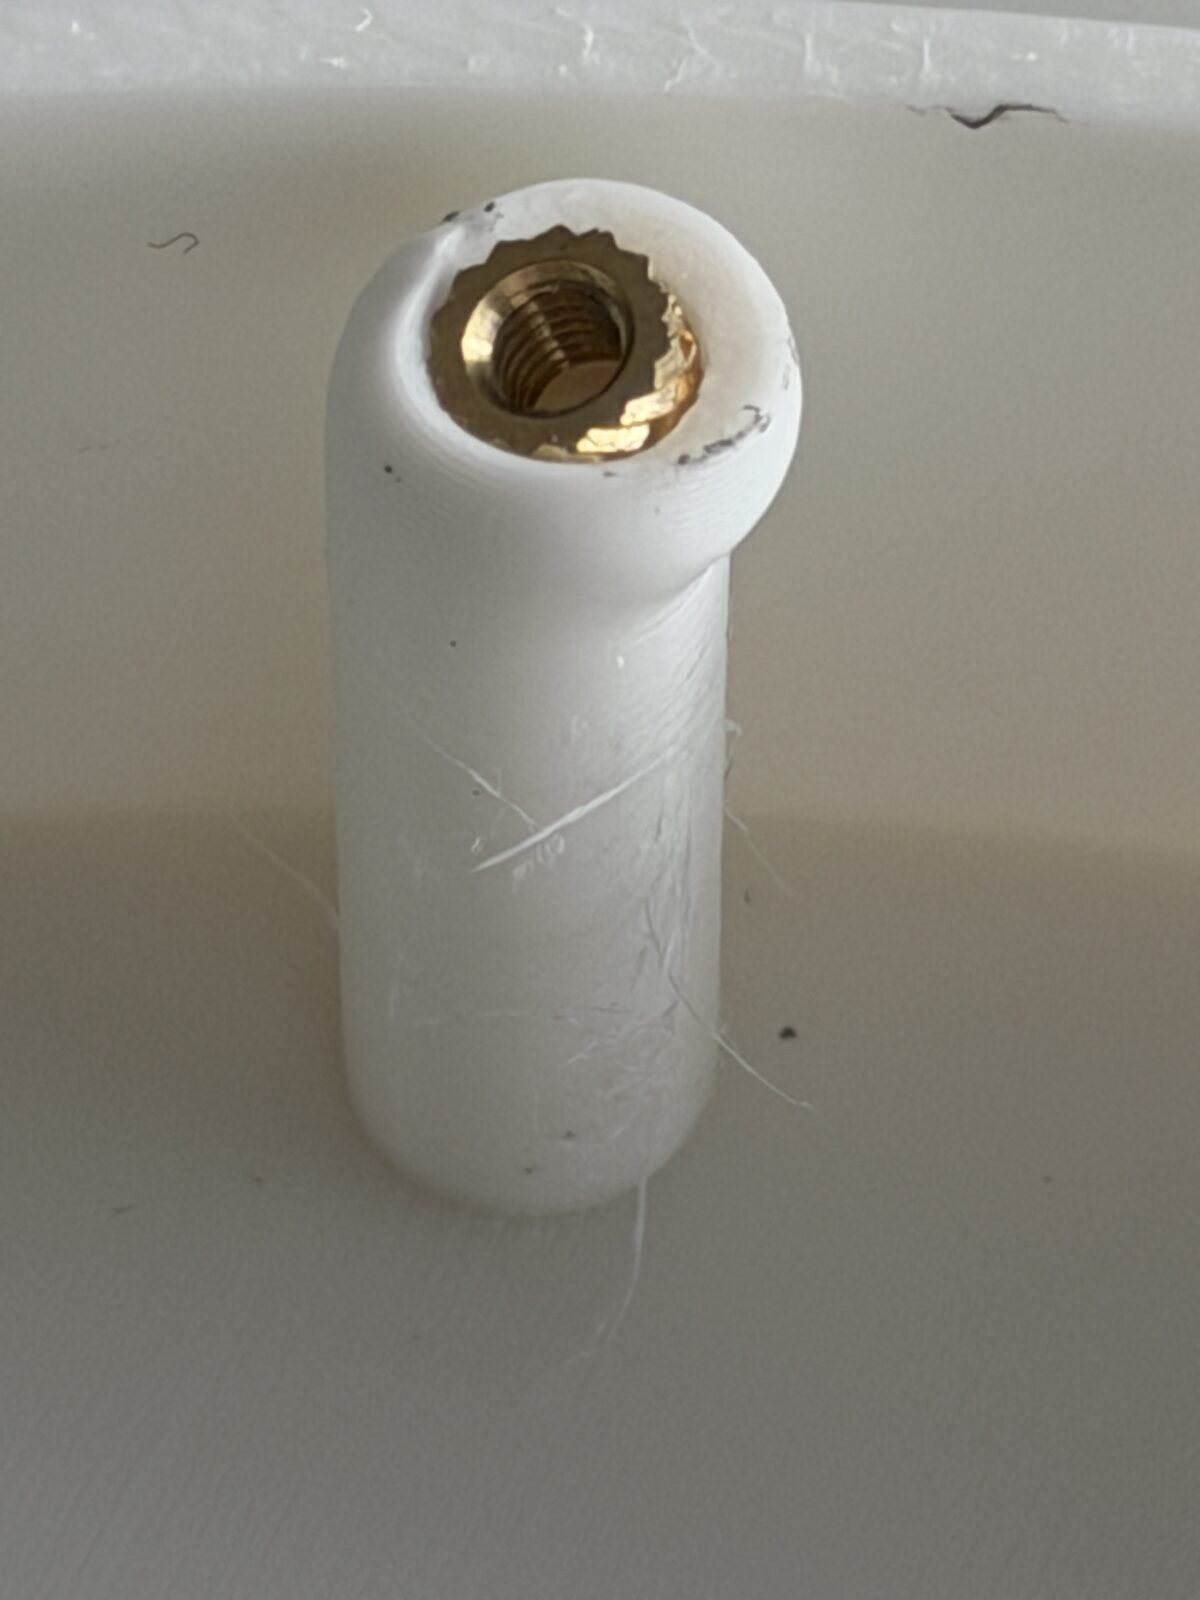
One of the posts that bulged when I melted a brass insert into it.
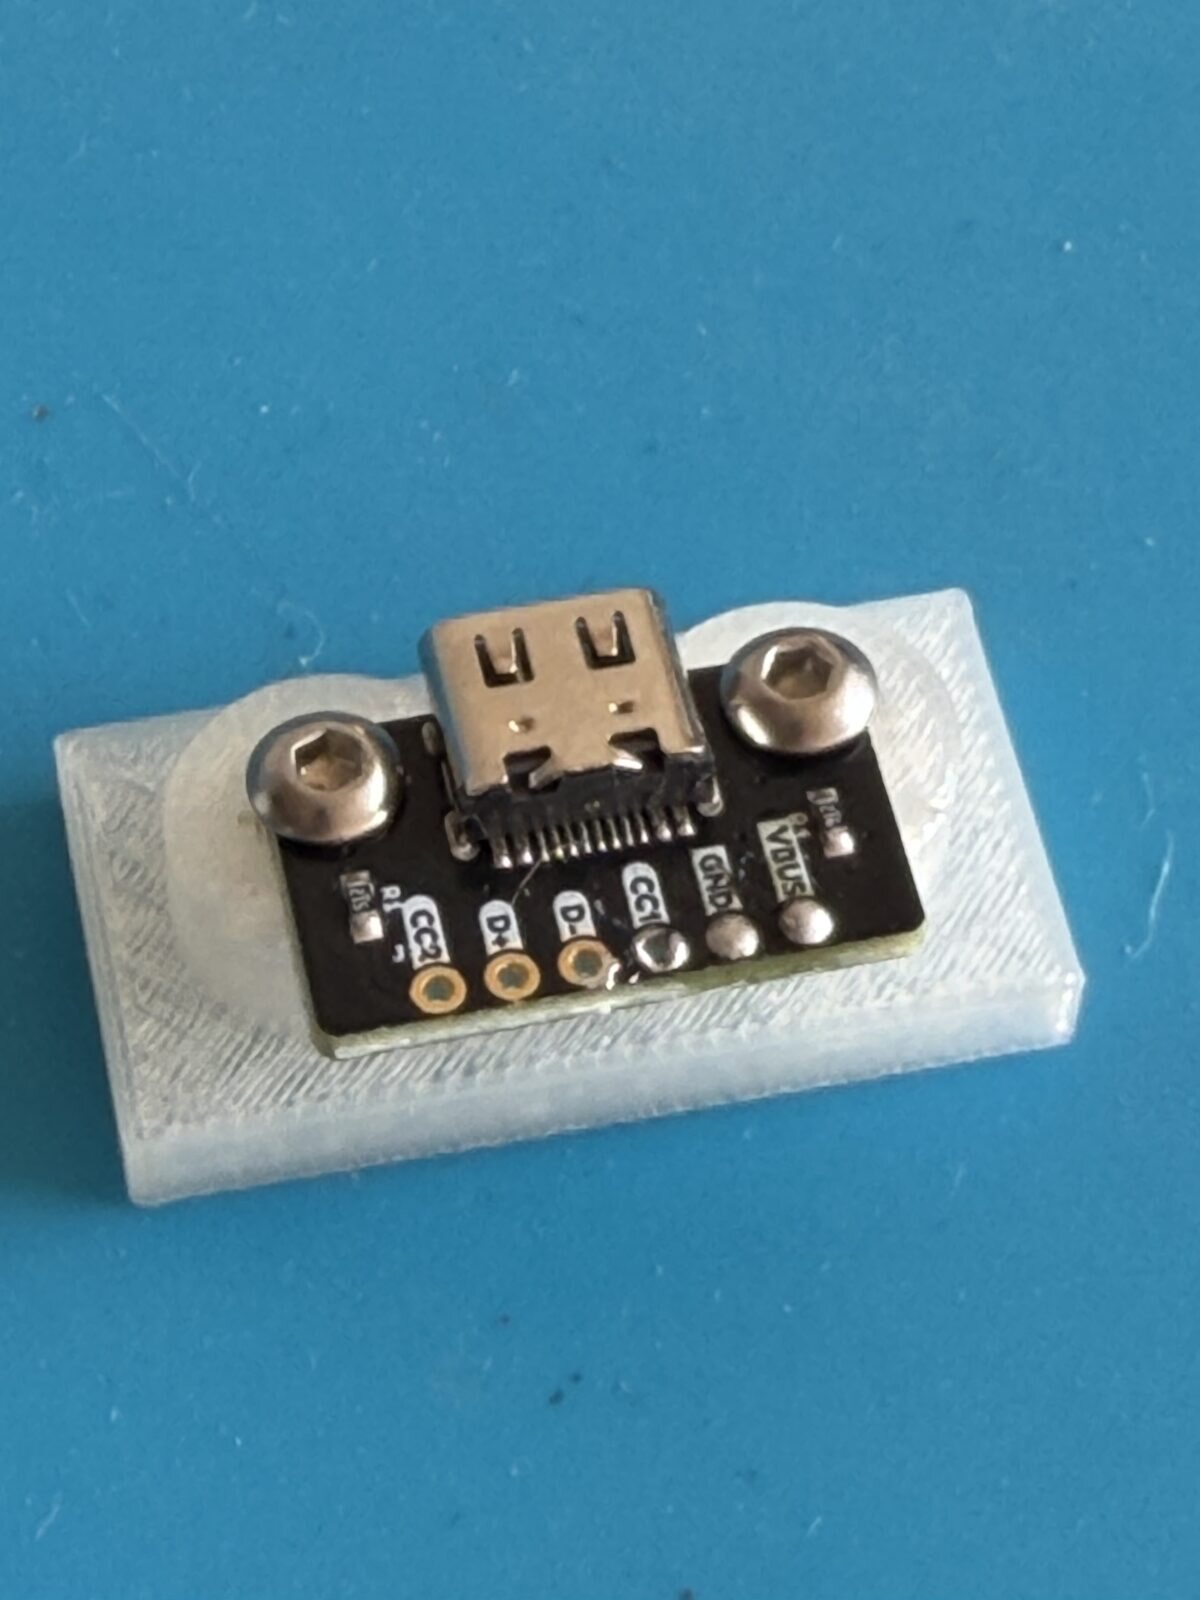
The one-hour test print: the USB-C port and its screws, to check the fixes before printing the third box.
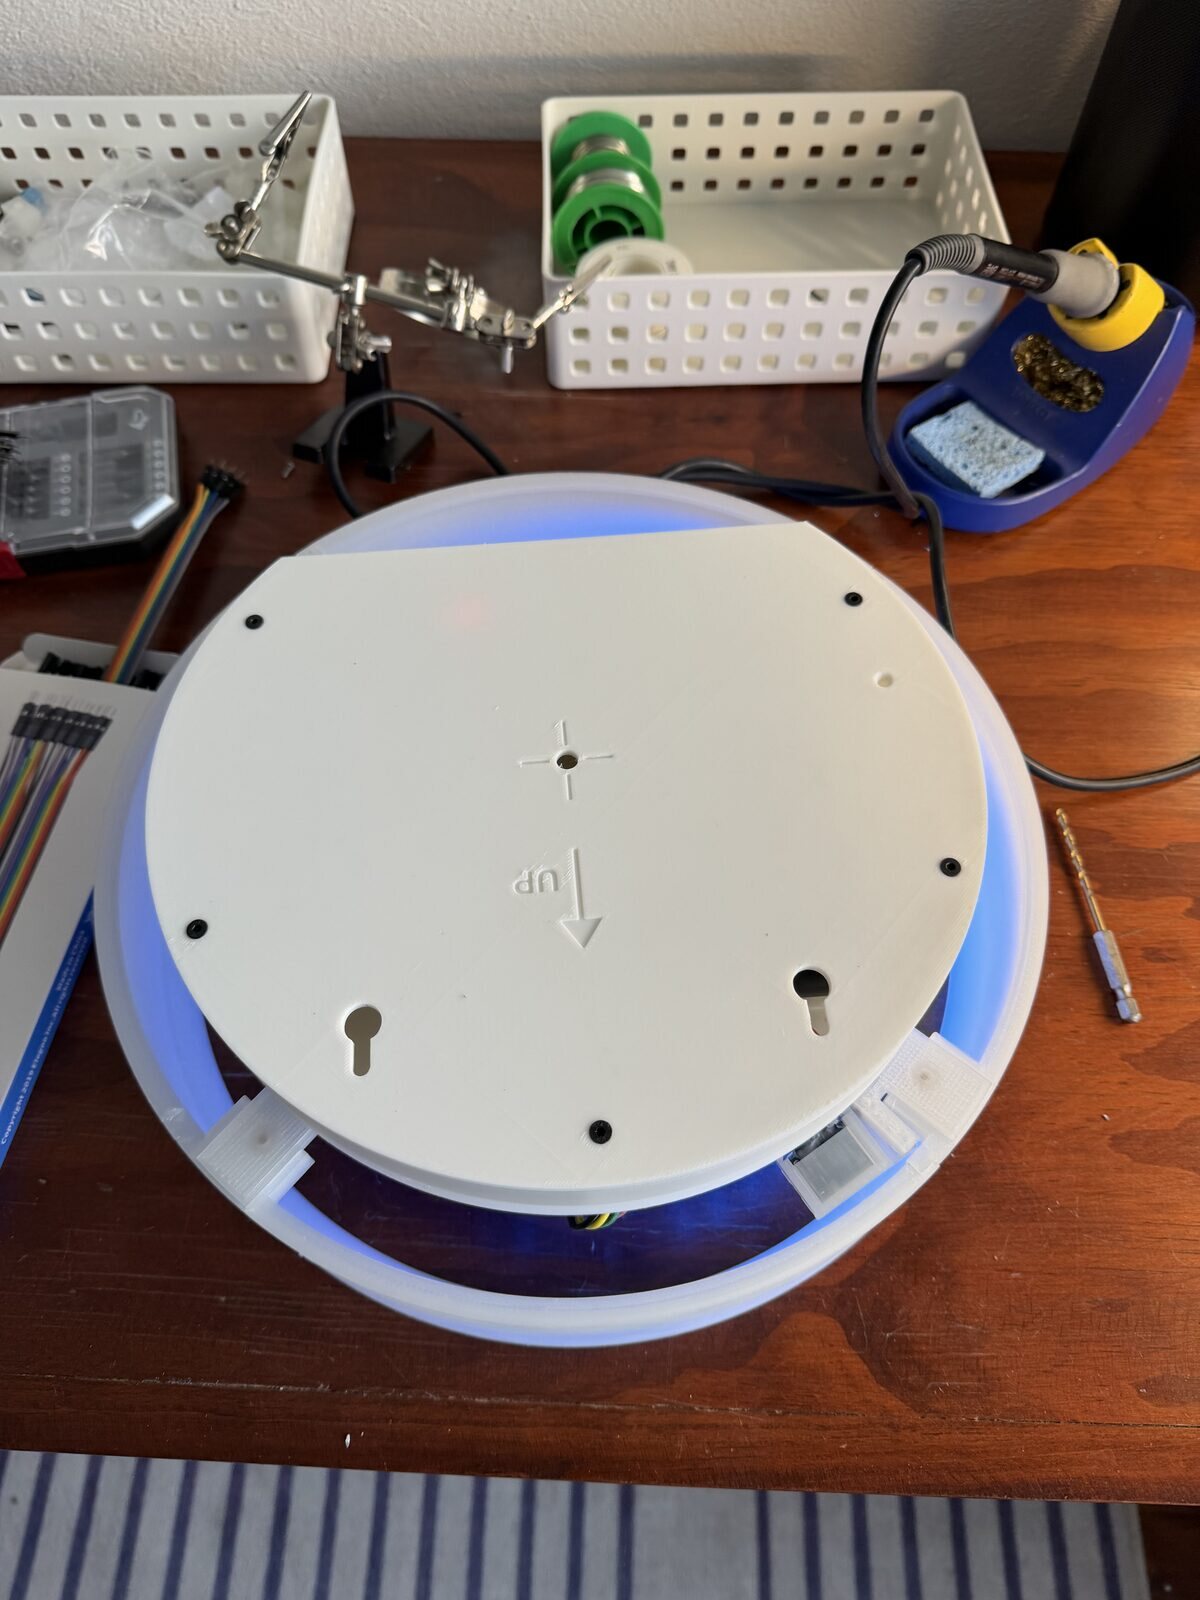
The back with the lid on, the side that hangs on the wall. The blue leaking out around the edge is the halo.
The mirror
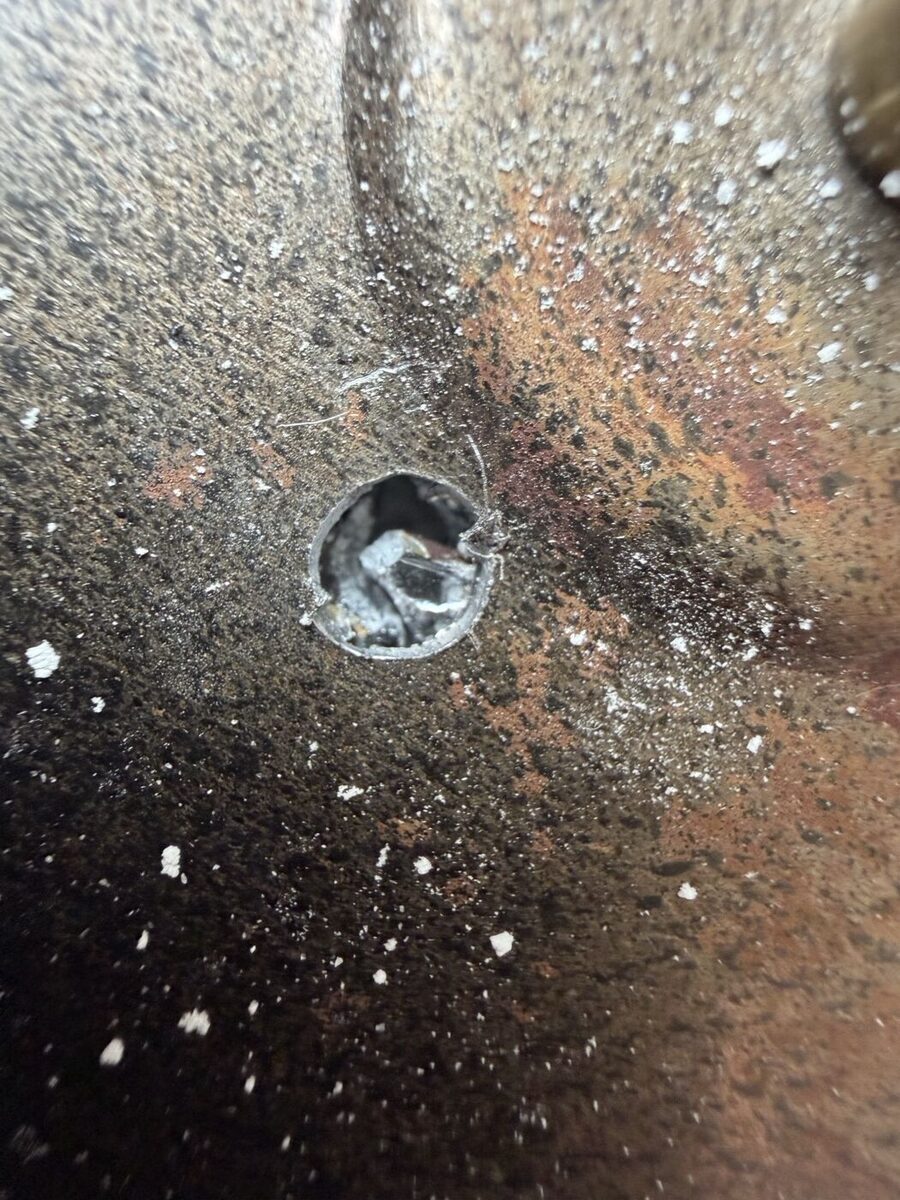
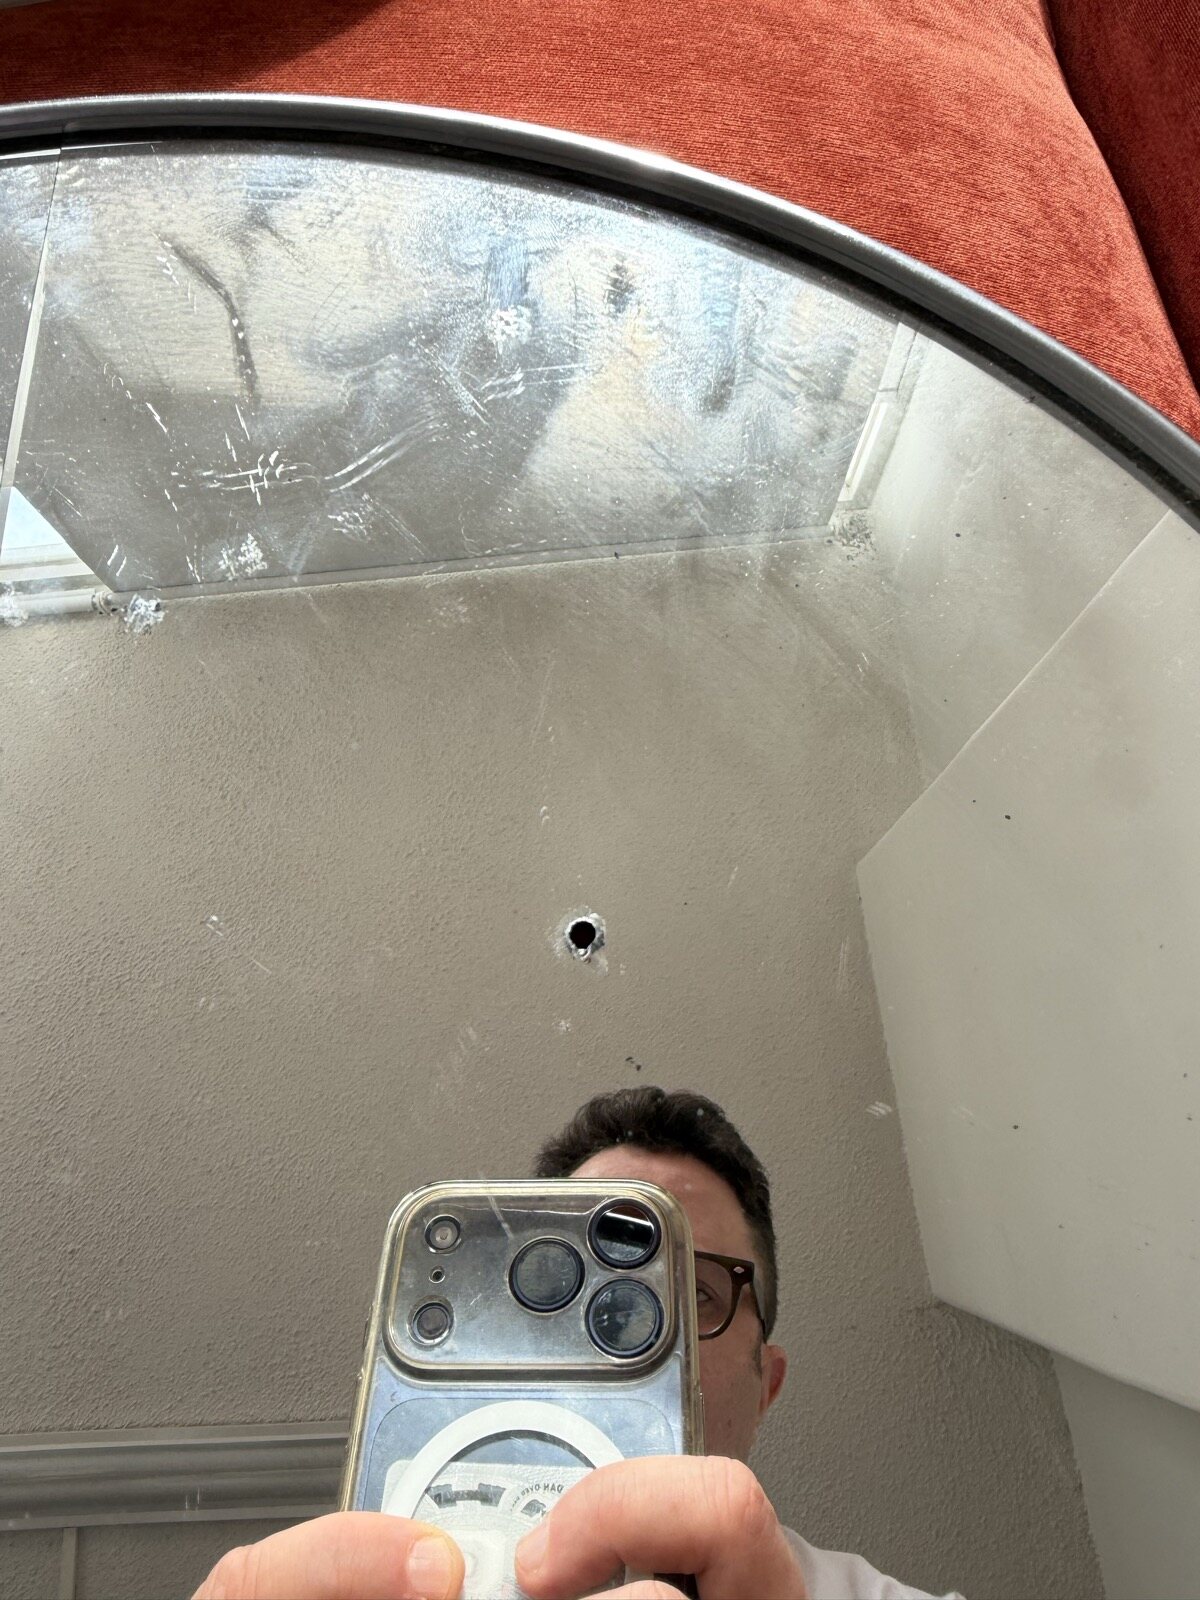
The piece was designed to stand on the mirror, and I didn't know how hard it was going to be to drill through it. The small drill went through the metal but not the glass. It wasn't going through, and then I started putting pressure, and the mirror cracked when I made it through. I'm fine with the look, but there's also the option of just not using a mirror at all.
So it went up without the mirror. The disk and its wall clamp straight onto the back box, and some light leaks out around the edge of the box onto the wall as a soft halo. I liked that more than I expected, and kept it.
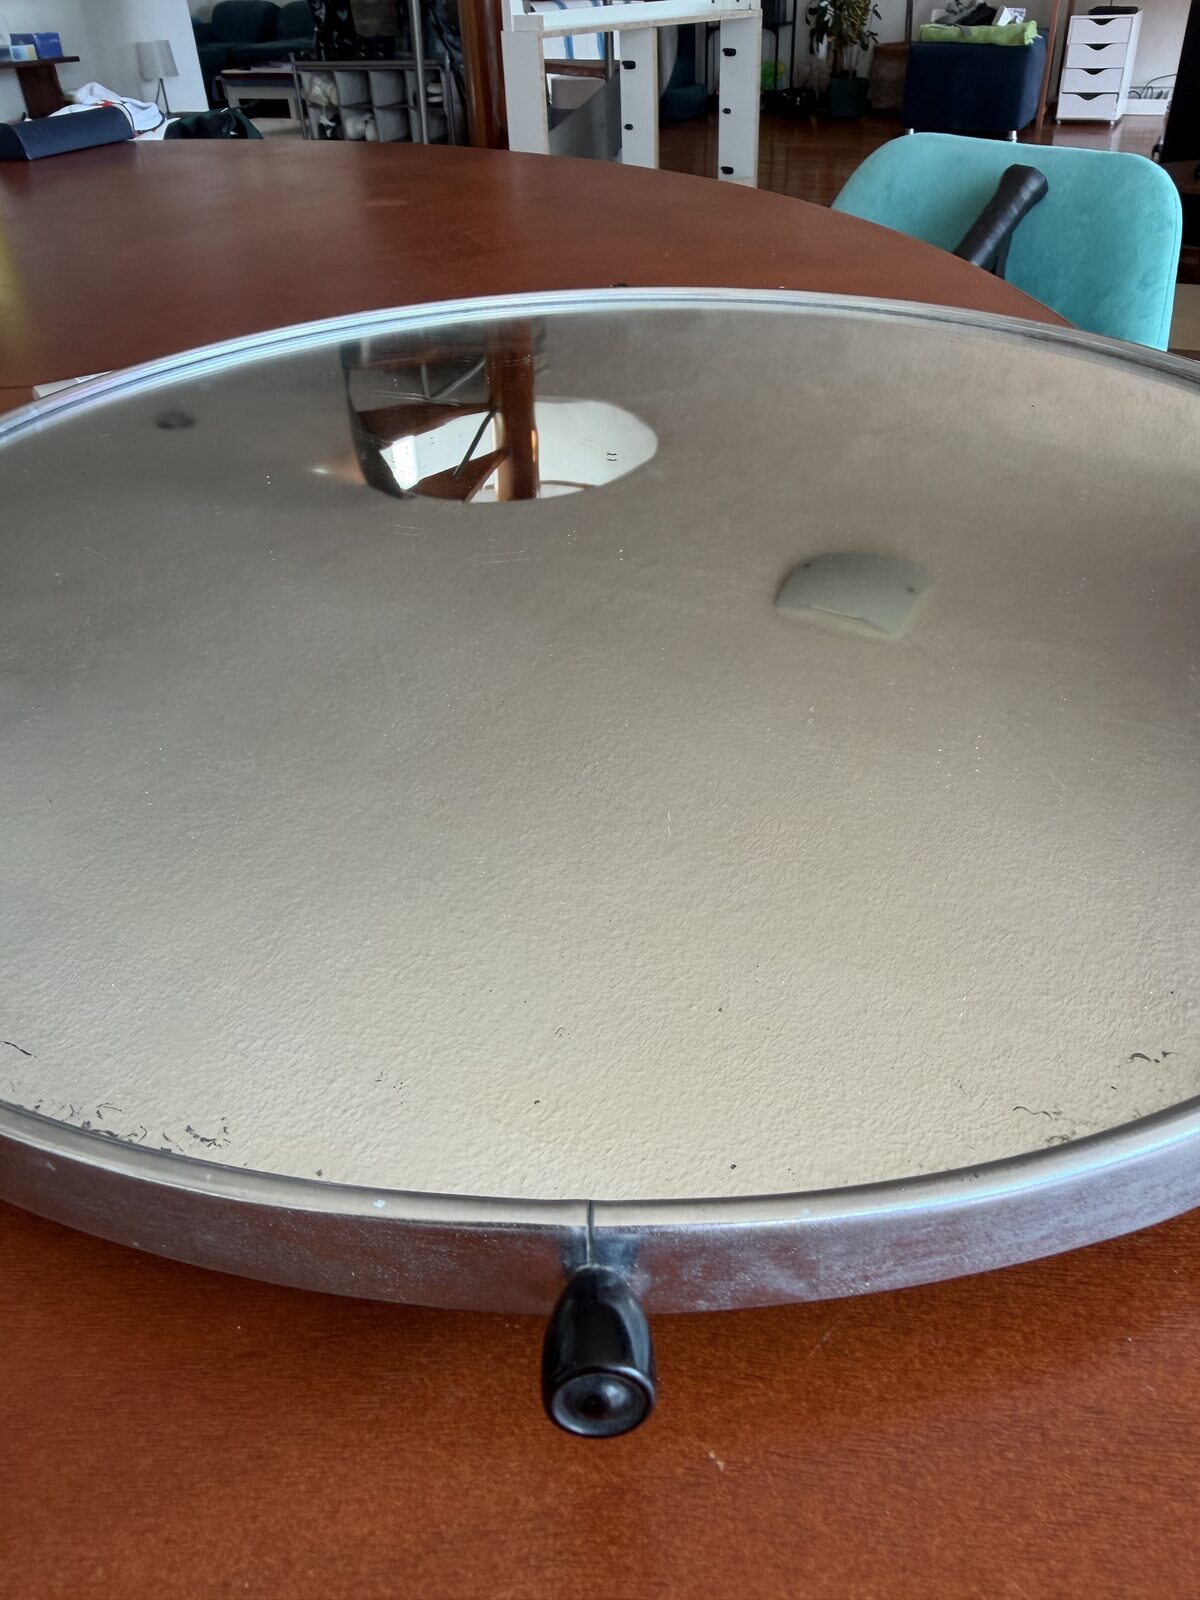
The mirror from the flea market, glass in a black steel pan.
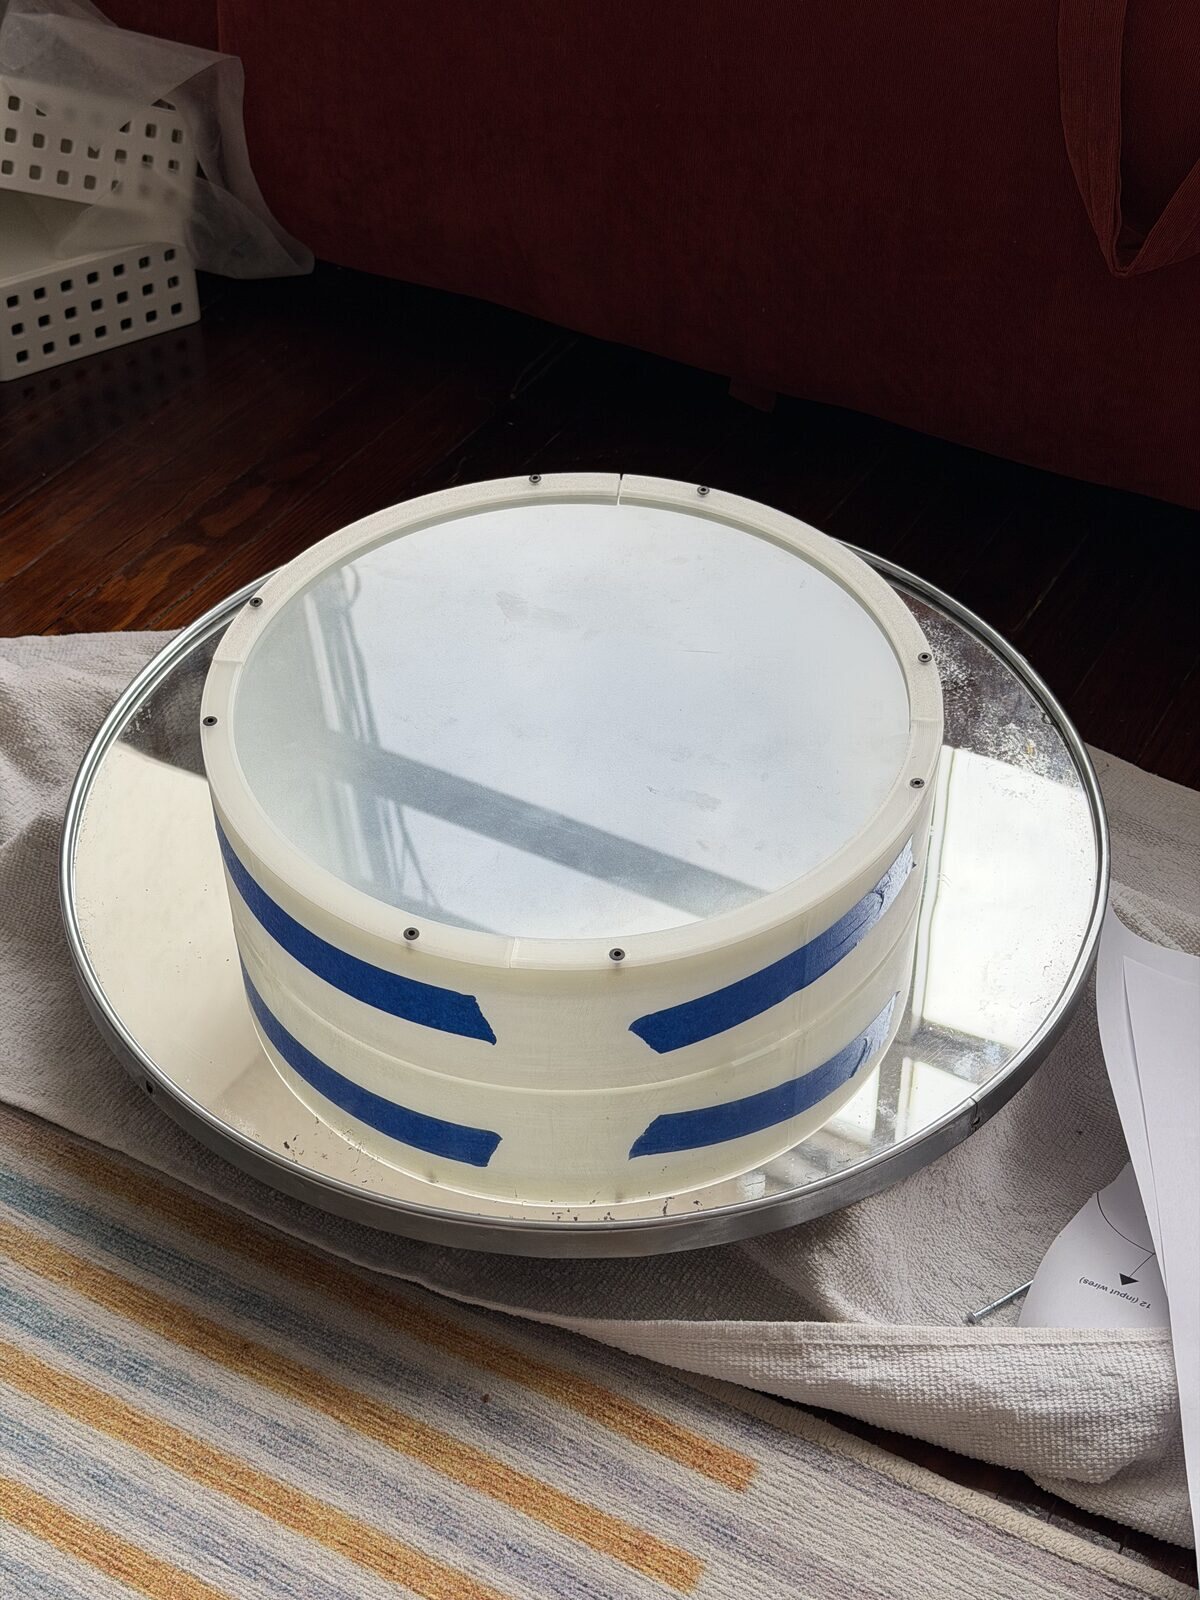
The front standing on the mirror the way it was meant to, a couple of hours before the glass cracked.
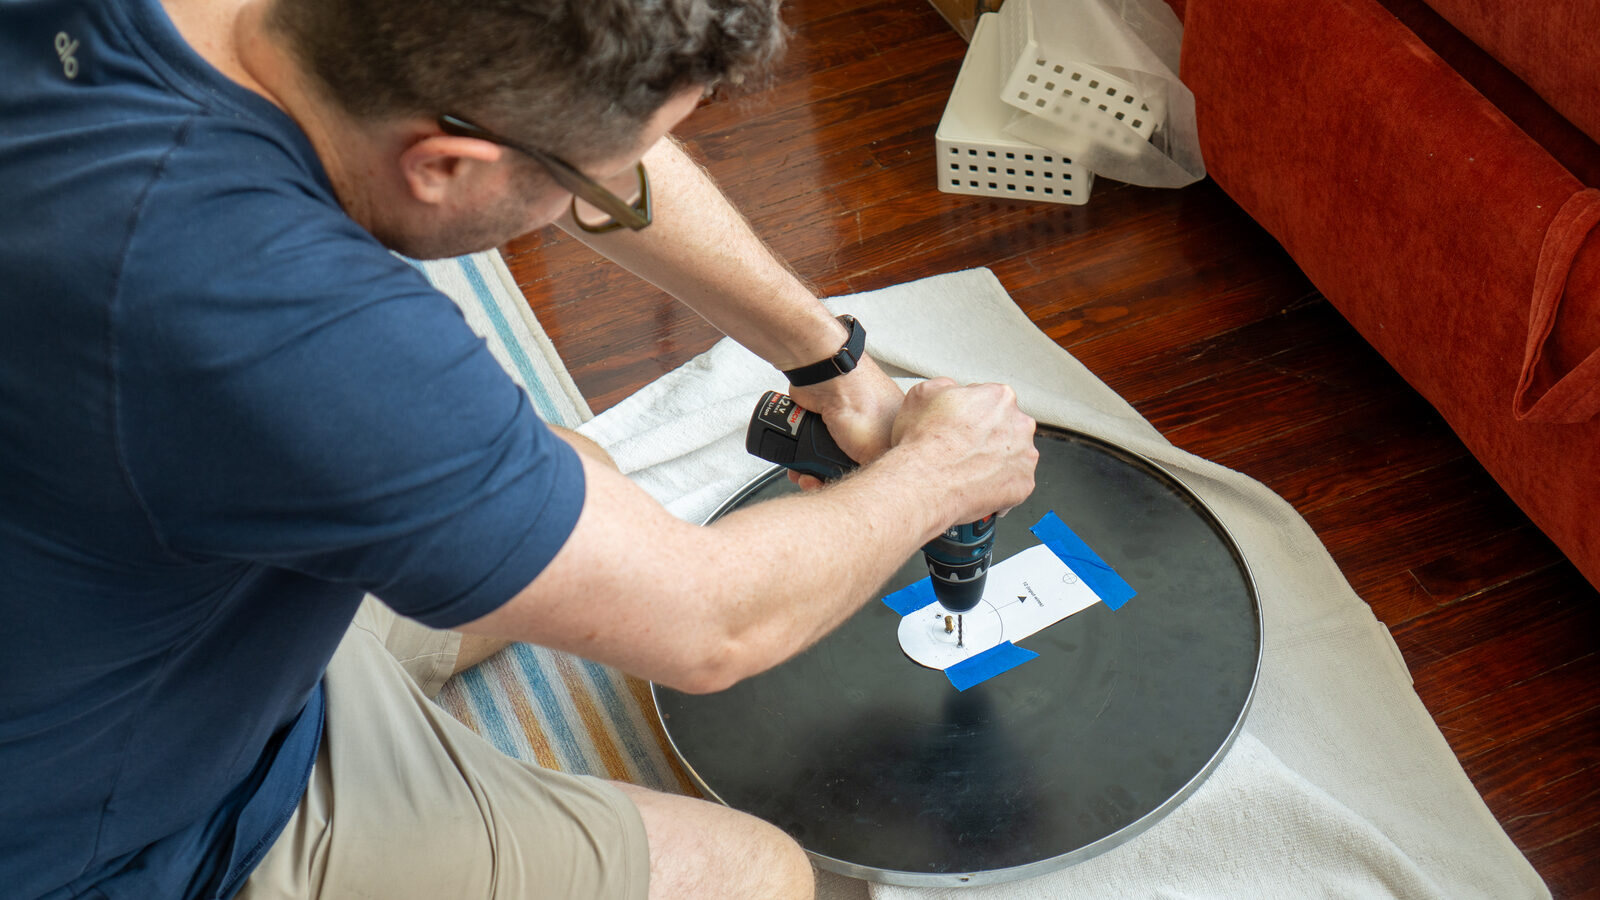
Drilling through the back of the mirror's steel pan. The steel was the easy part.
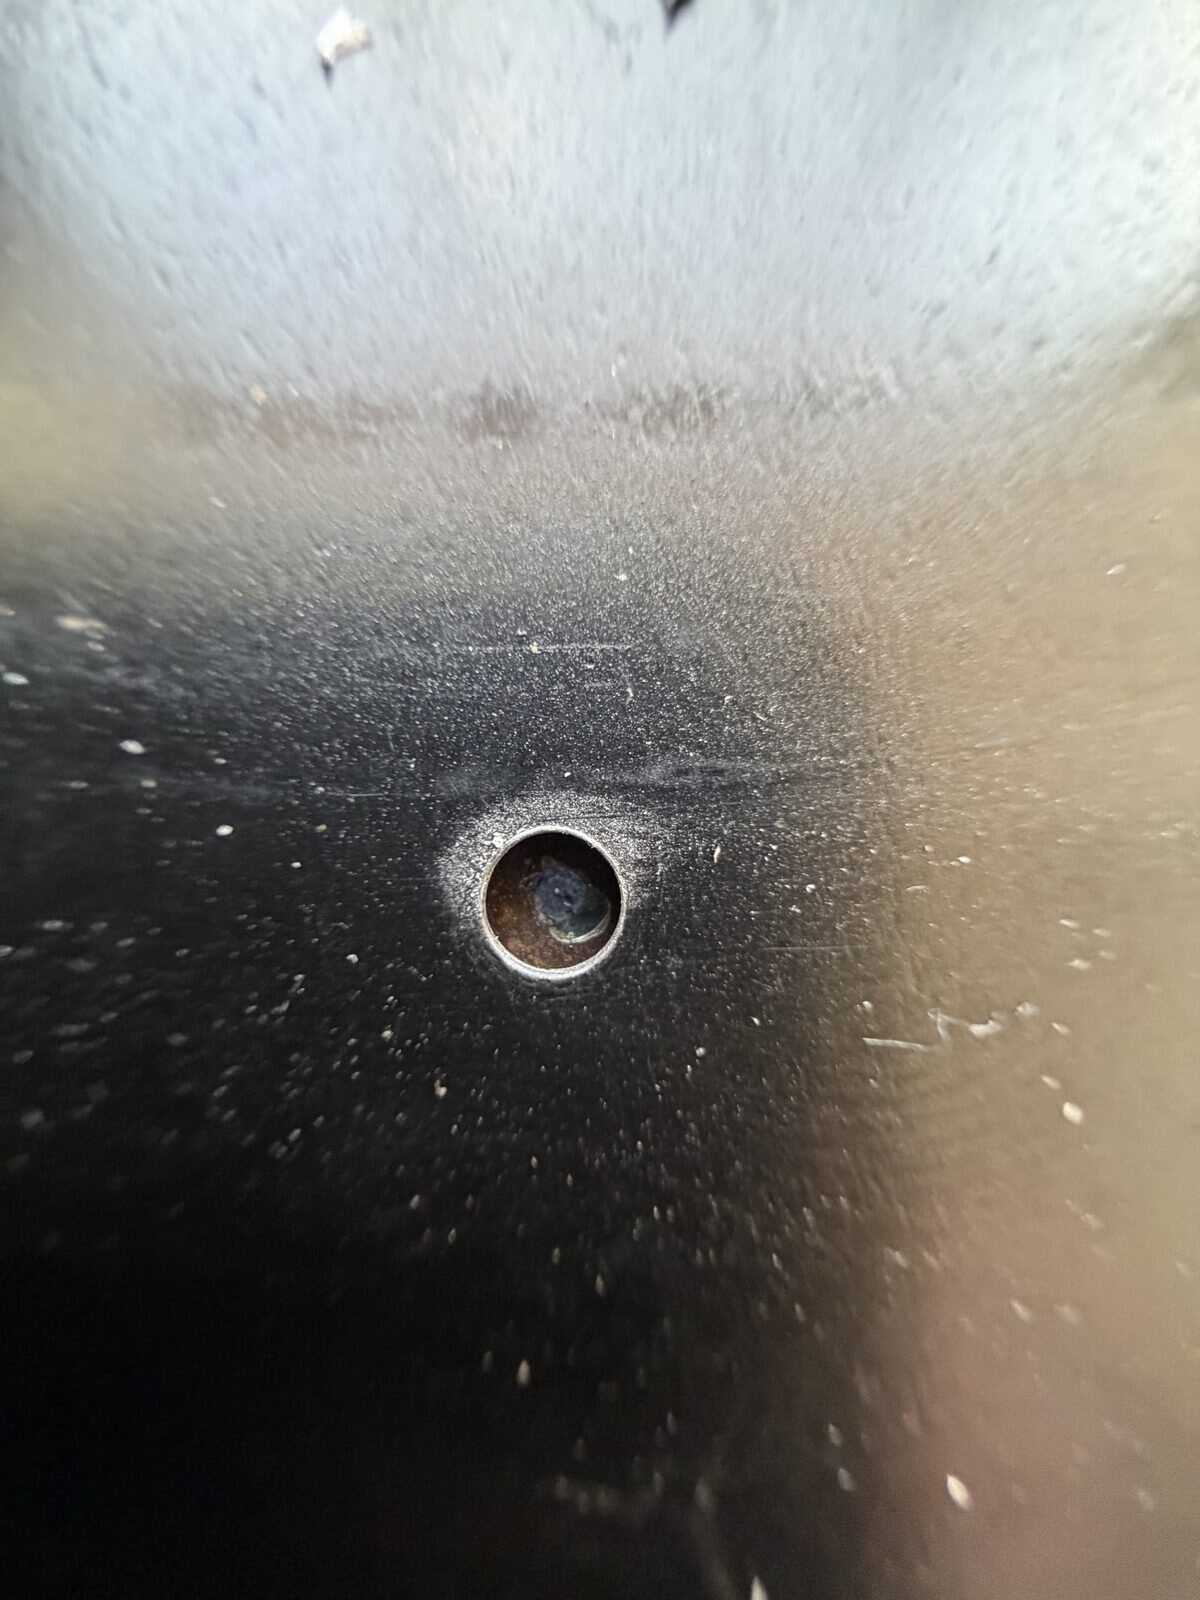
The hole through the steel pan. The steel drilled easily.
I should have been more patient. I kept practising on the cracked mirror, and the next hole came out clean.
The hidden sensor
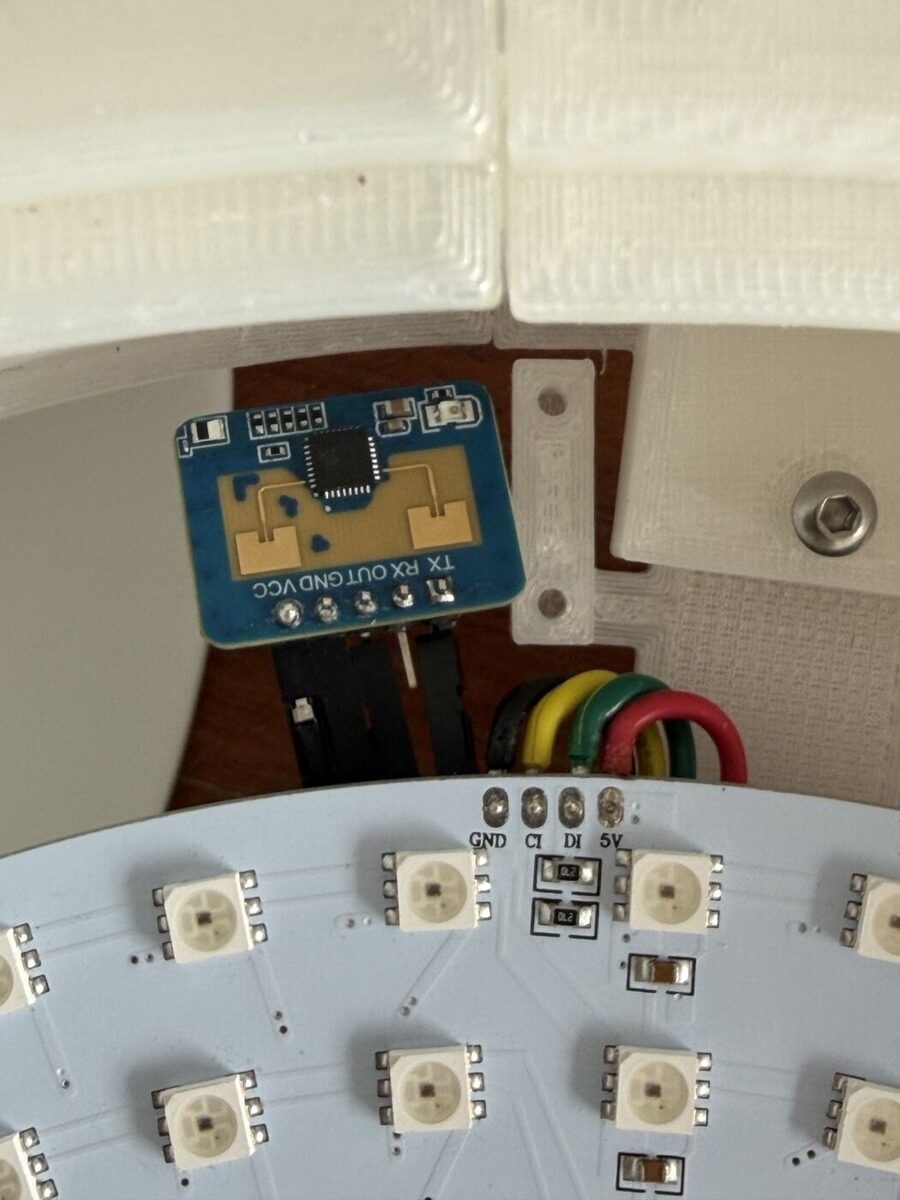
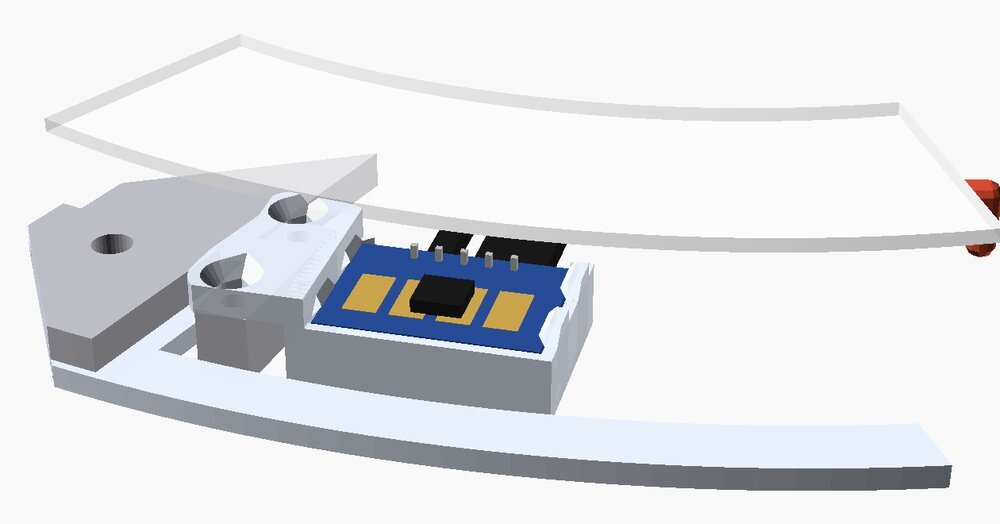
The sensor is an LD2410C, a 24 GHz presence radar. Will it work from behind the glass and through the LEDs? It does. It sits on the little compartment that sticks out of the spider legs for attaching things. You can see it a bit, but the lights overtake it anyway.
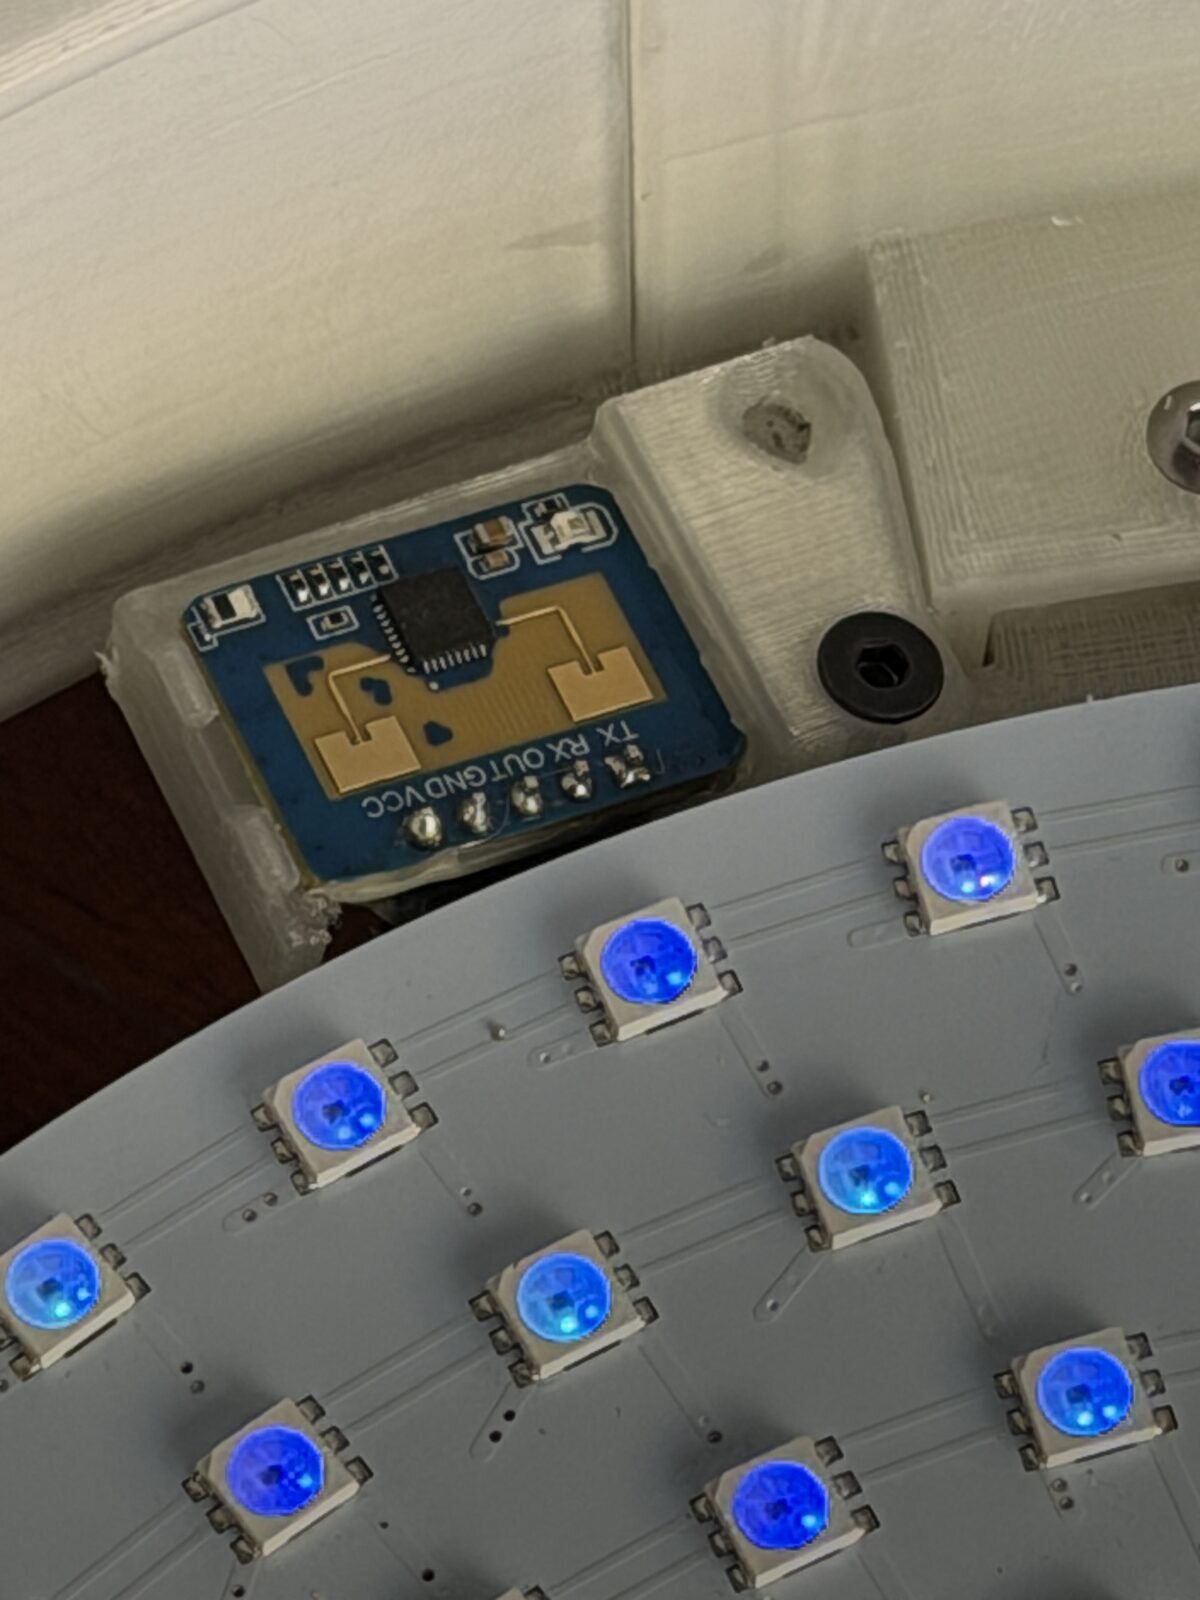
The radar in its clear printed tray, below the face of the disk.
The patterns
There's one where it's like caustics. It's really nice, but it was too repetitive, so now it kind of changes over time. And when I stopped moving there was this one beautiful long wave. There should be more like that, so now there are.
I tuned them in a browser preview that runs the same code and shows the piece in 3D, with buttons for nobody, moving and still, and in a simulator that runs the real firmware on my laptop and renders a visit as a GIF, like the ones above. Once it's on the wall the USB port is hard to get to, so new patterns go onto the board over Wi-Fi. It takes about a minute.
One thing only showed up on the real disk: where it's dark, it was really flickery. The LEDs now refresh much faster than the patterns draw, and that fixed it.
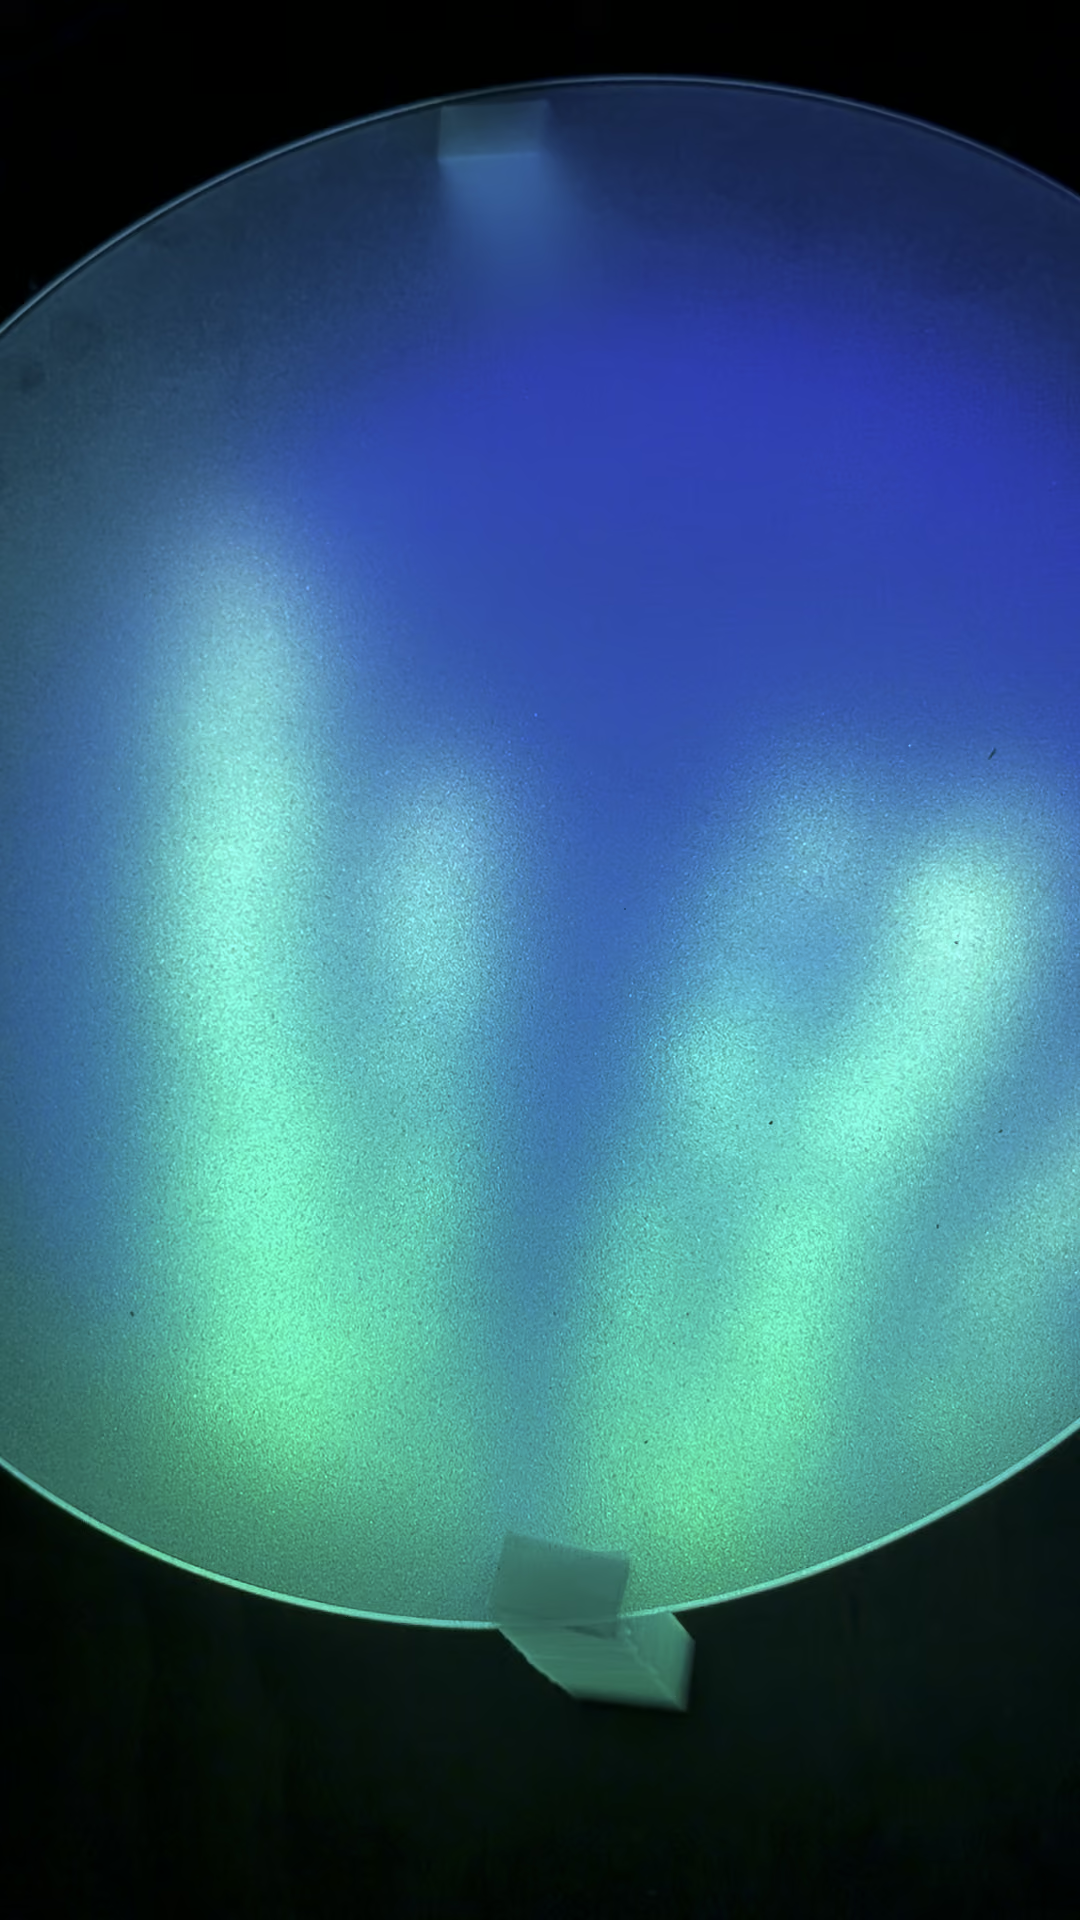
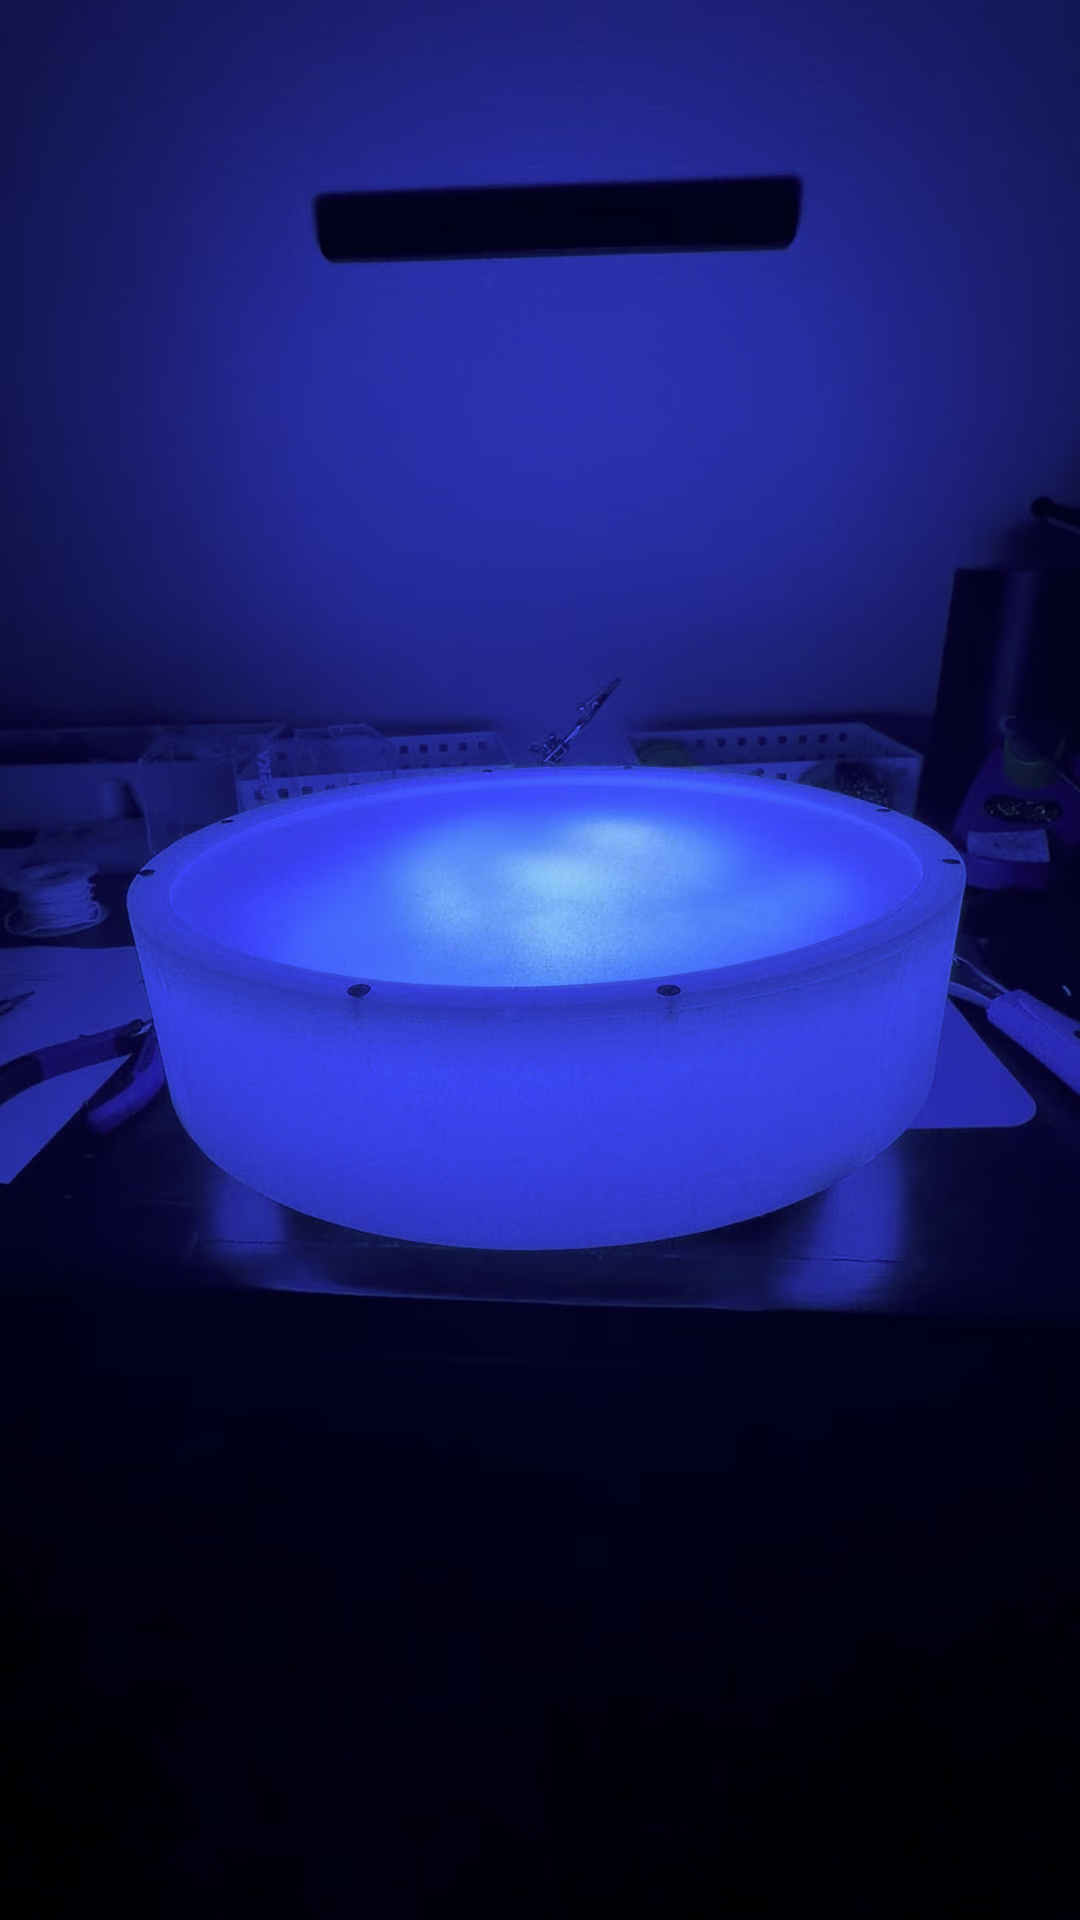
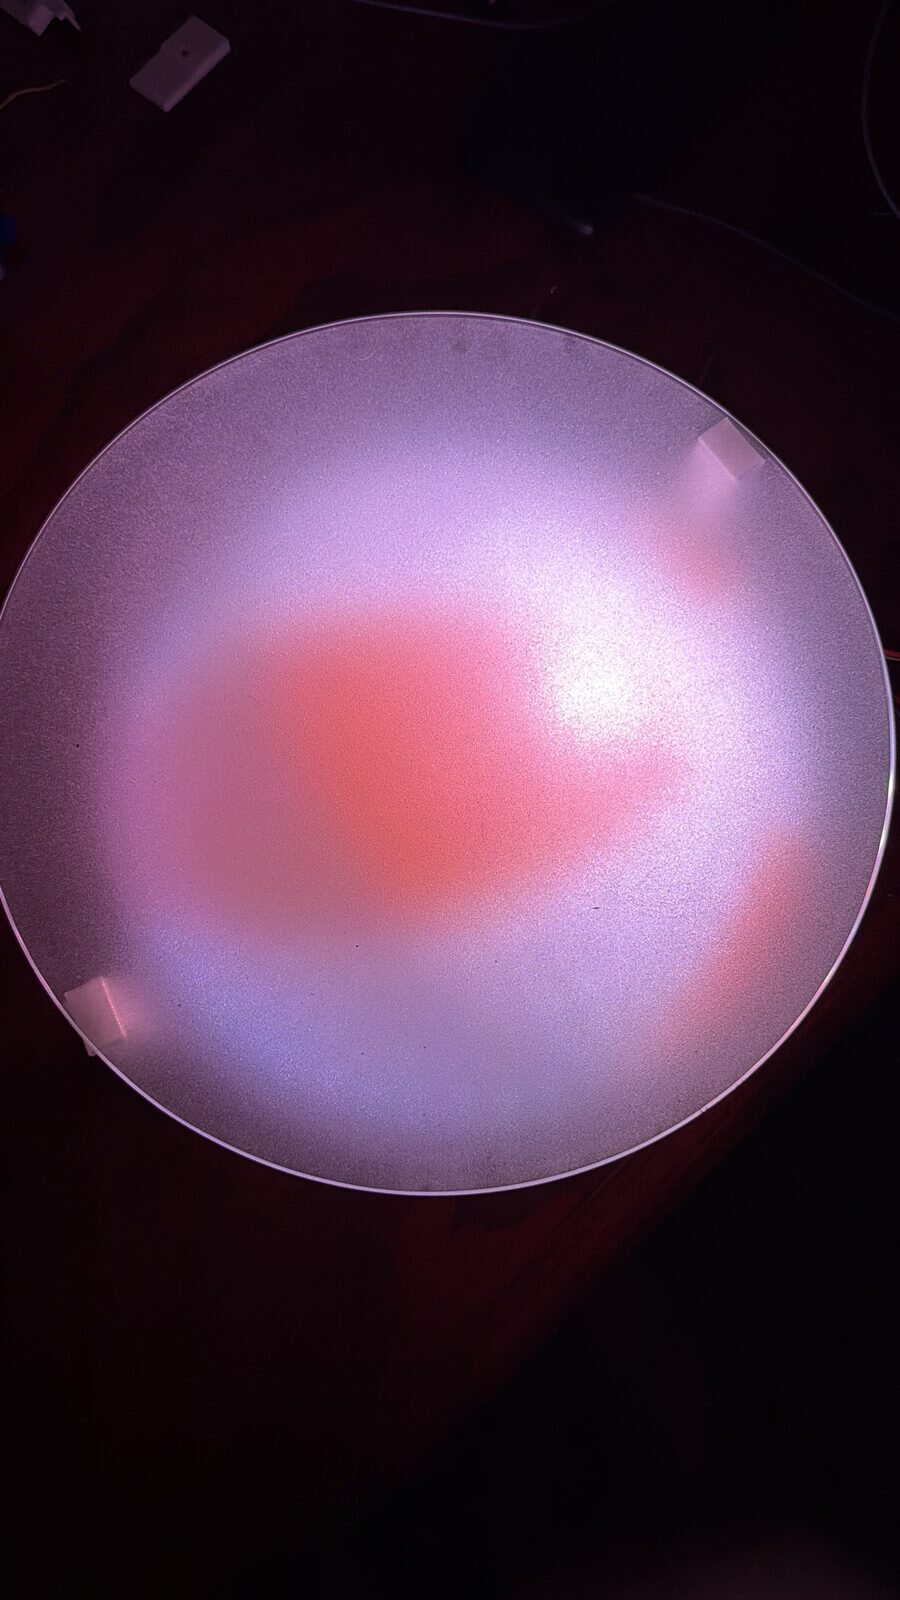
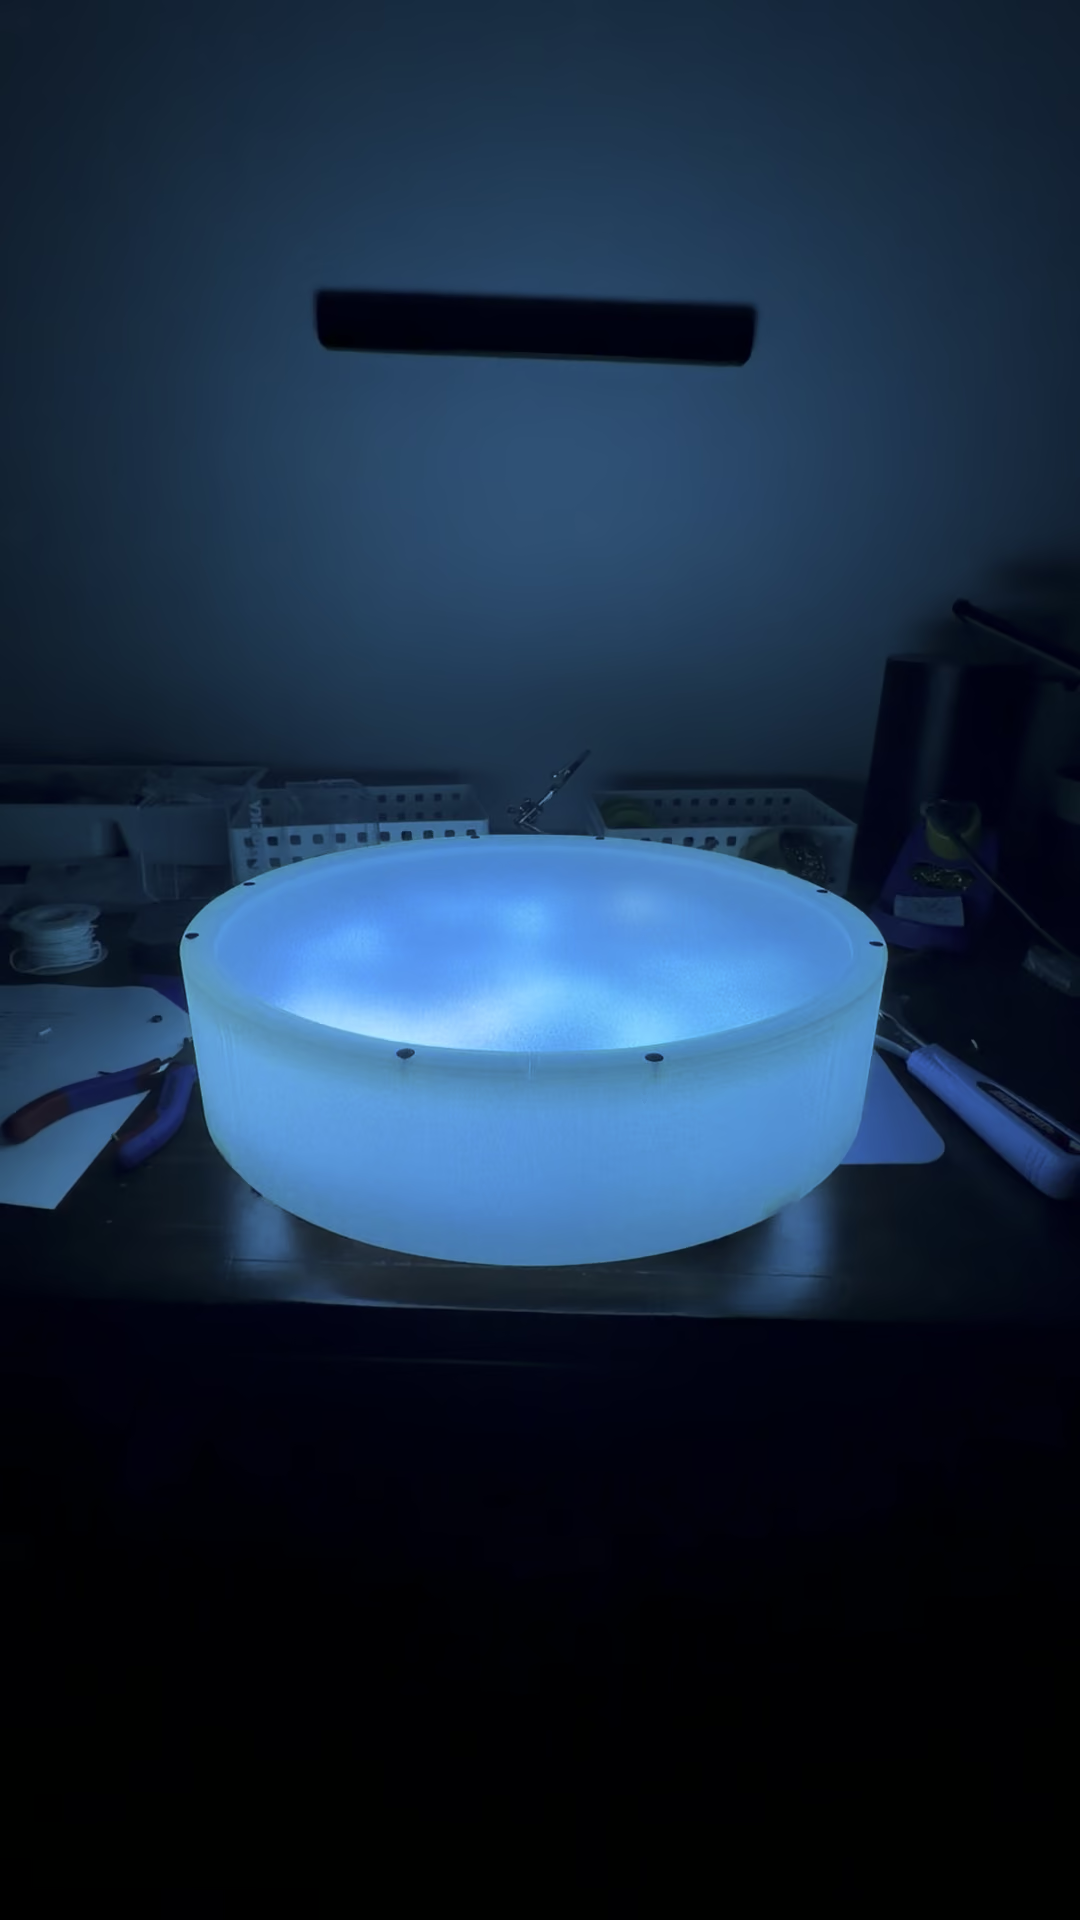
A warm pattern through the frosted glass on the bench.
How it's made
- 255 APA102 LEDs on a 242 mm disk
- ESP32-S3, patterns generated live
- LD2410C 24 GHz radar, hidden
- Clear PLA wall and spider, frosted glass, printed back box
- Battery inside, one switch, Wi-Fi updates
- About 30 cm across, 10.5 cm off the wall

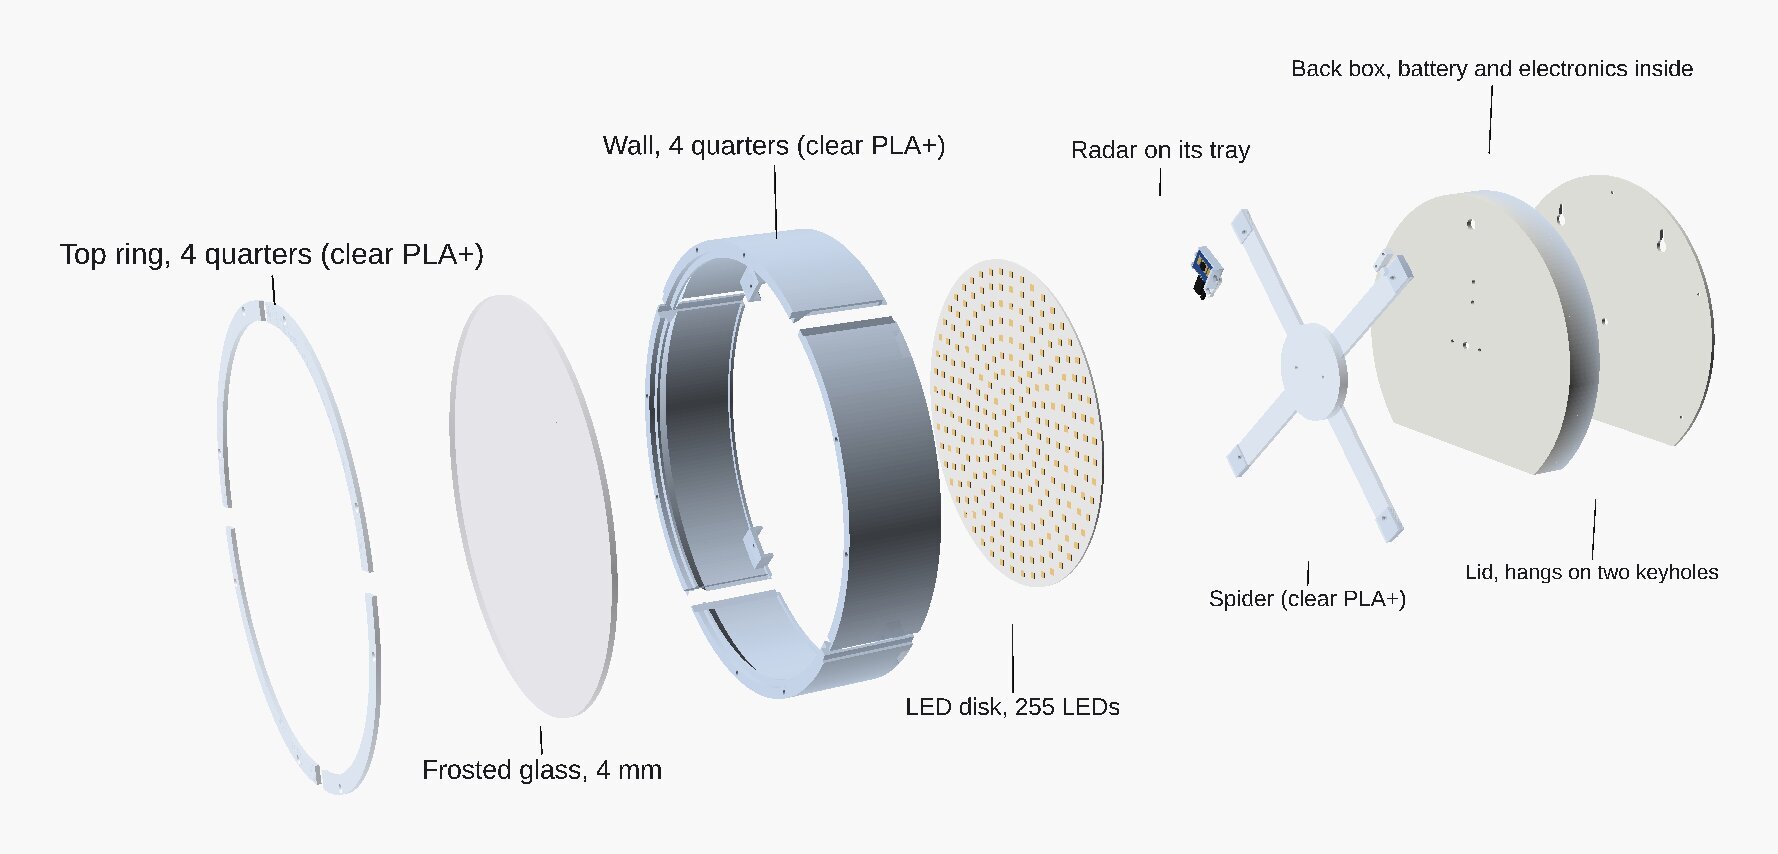
Built with the assistance of Claude, directed by me. I set the idea, how it looks and behaves, every pattern and what to change, and tuned it all on the real disk. Claude agents wrote the firmware and pattern code and modelled the enclosure from my measurements and sketches.